under construction…
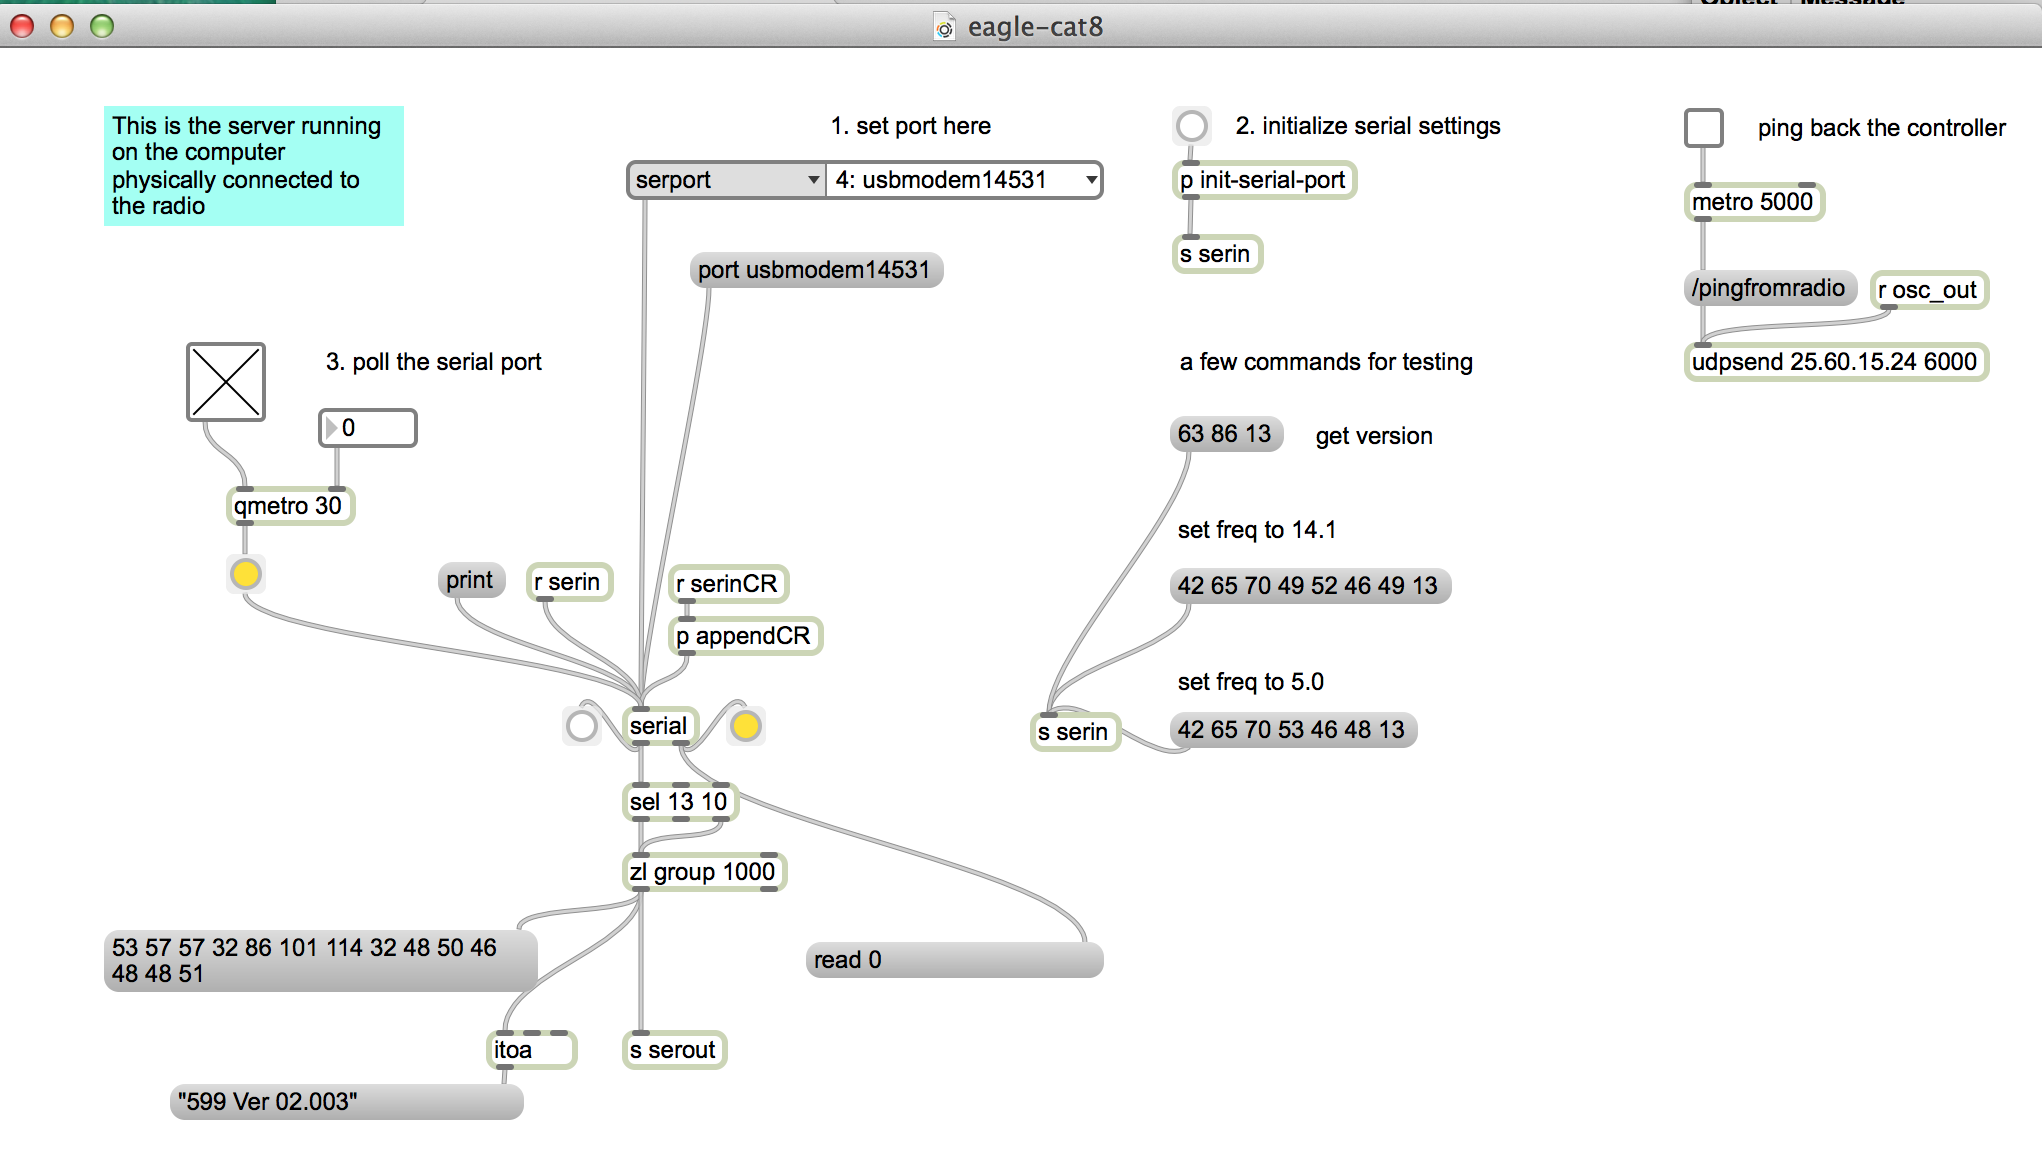
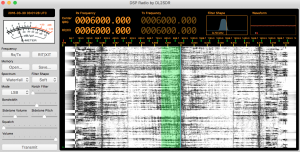
Max/MSP features a full implementation of SQLite using the js (javascript) object. Here we describe a database to track radio frequencies. Frequencies are stored by time, type, and mode. The frequencies can be retrieved in various ways, like with a scanner radio.
Tables can be created and maintained outside of Max using the command line (sqlite3) or database apps like SQLiteStudio.
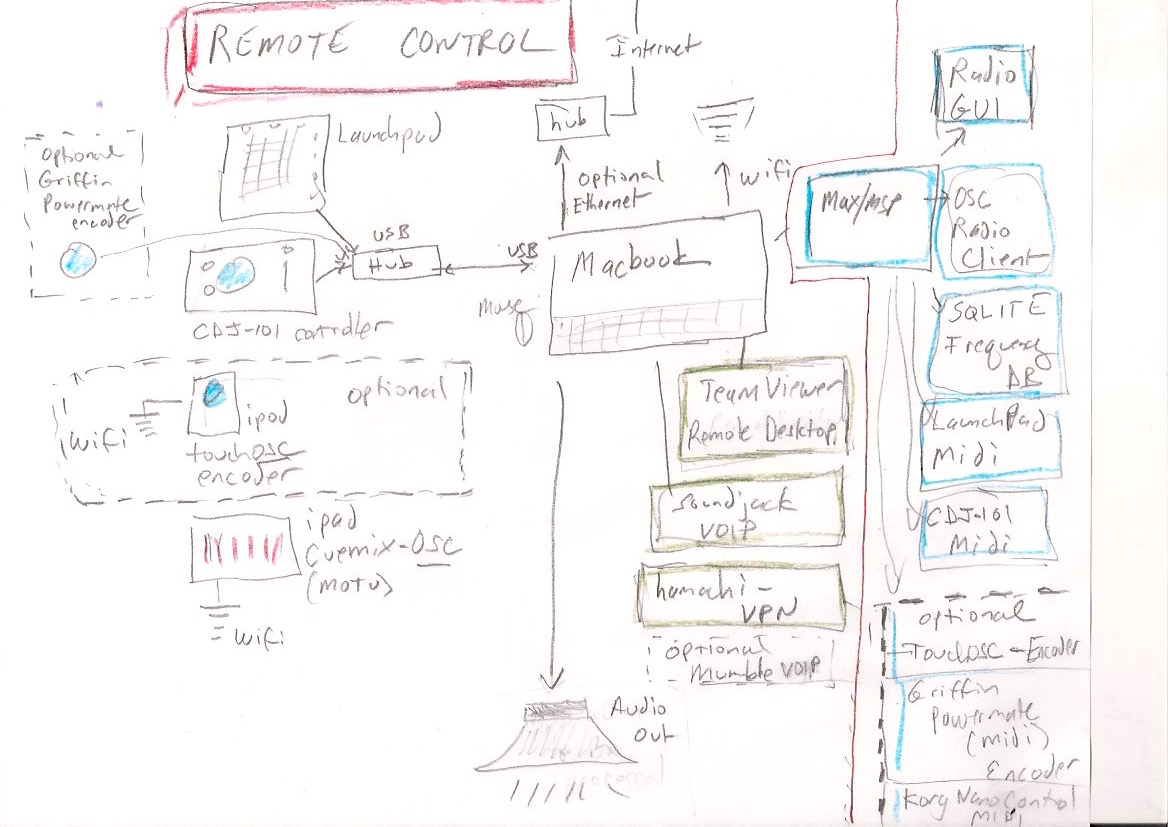
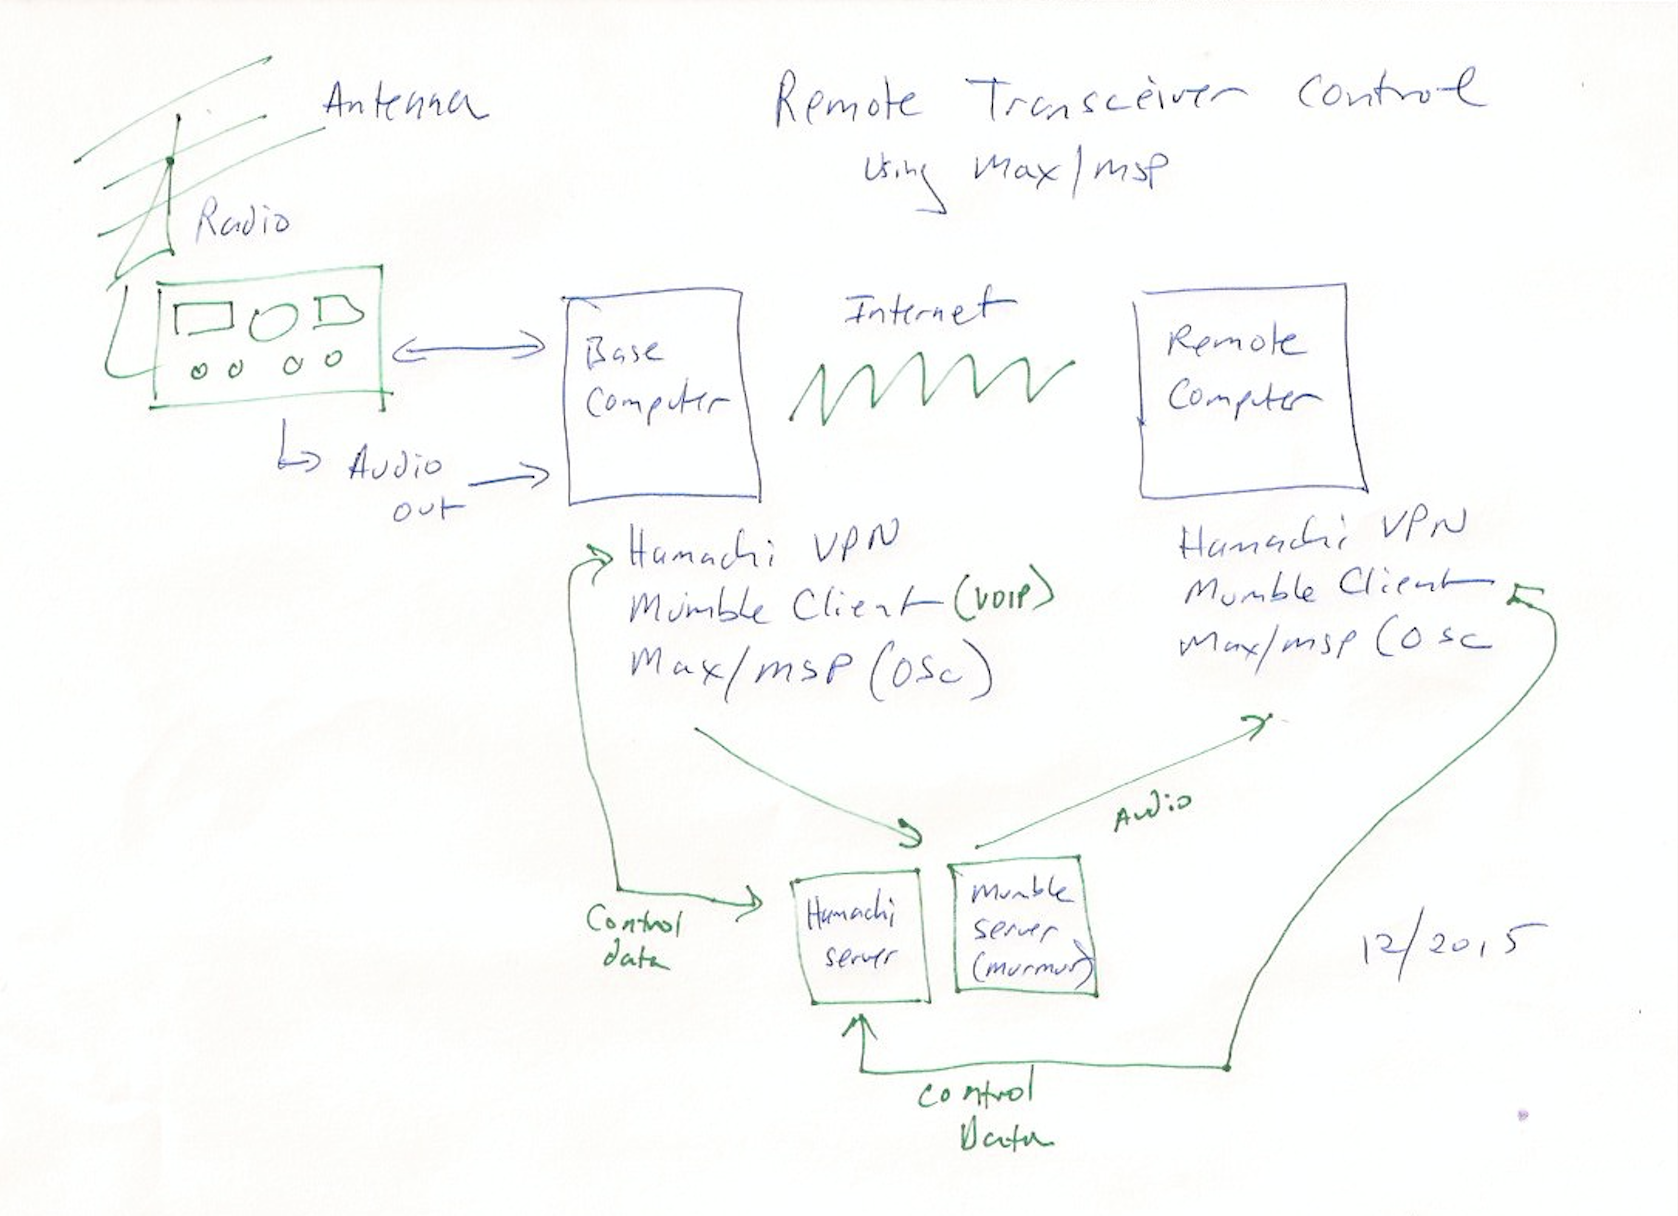
Max patches:
(not yet available on github:
- freqdb4.maxpat (database UI)
- swBase3.js (SQLite code)
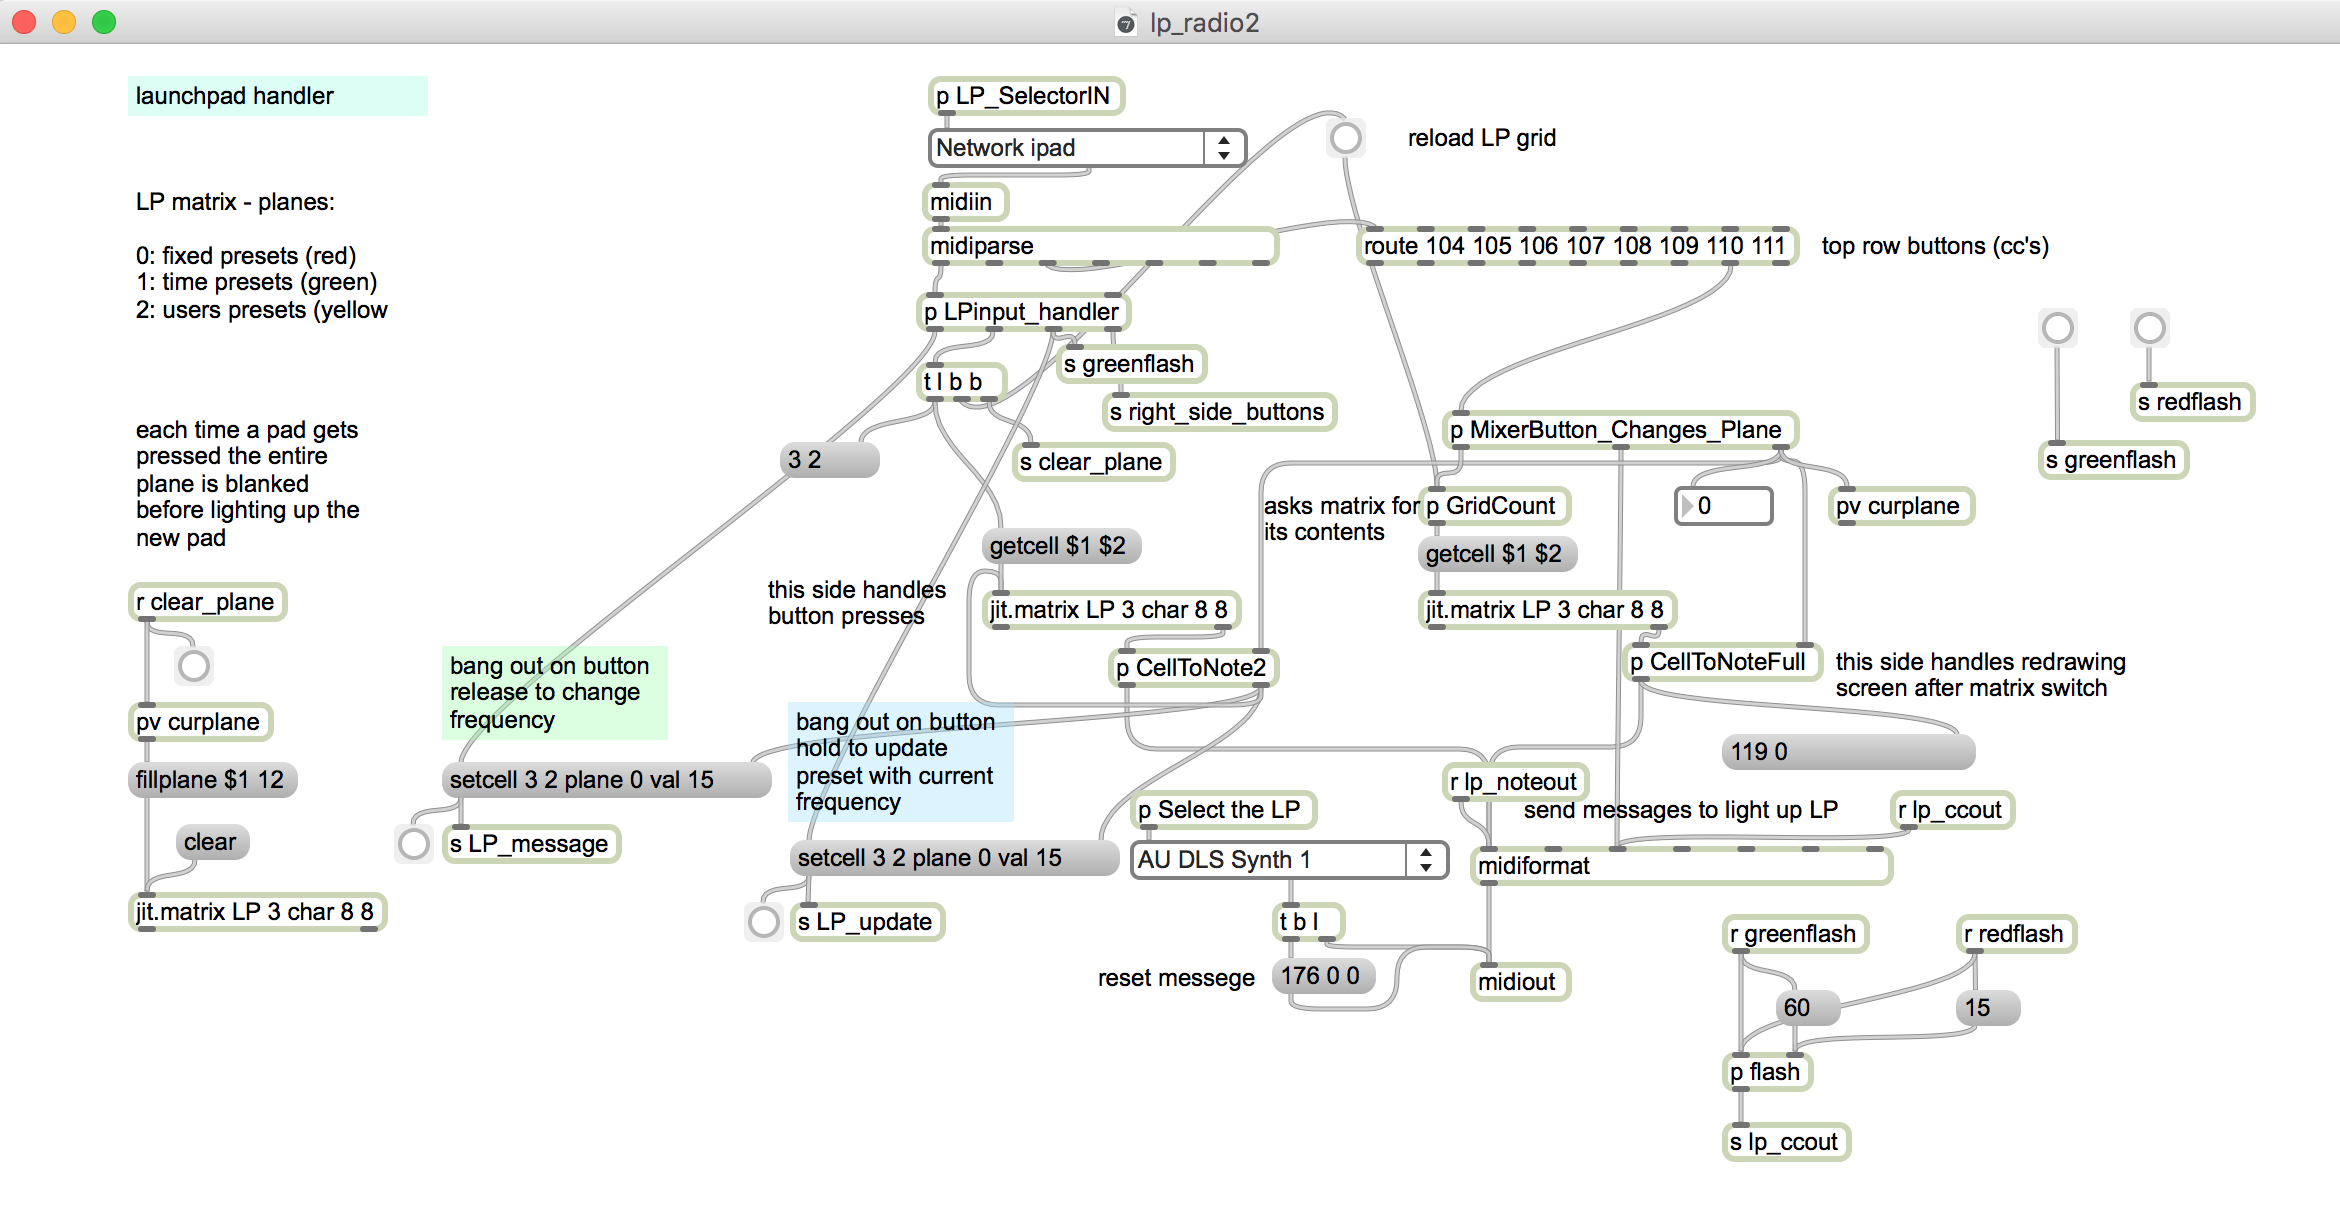
- lp_radio2.maxpate (Launchpad)
DB structure:
The database is called newtestDB1
tables:
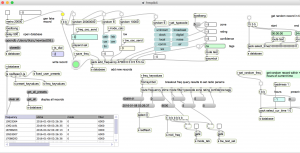
You can see the table schema in the screenshots. The tables were created using command line sqlite3 and SQLiteStudio.
freq table:
One record for each stored frequency. This table retains its state from each previous use, but new records can be added using the Max patch, or the Launchpad.
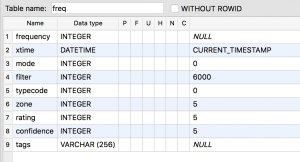
xtime: Timestamp in UTC.
frequency: Hz.
mode:
- usb: 0
- lsb 1
- cw 2
- am 3
- fm 4
filter: bandpass filter setting in Hz. (default is 6000)
typecodes:
0 : unknown
1 : AM/SW broadcast
2 : clock
3 : digital mode
4 : local broadcast
5 : mostly noise
zone: cq zone number
rating: 0-5 (0 = unrated)
confidence: 0-5 (0 = unknown)
tags: (general text notes)
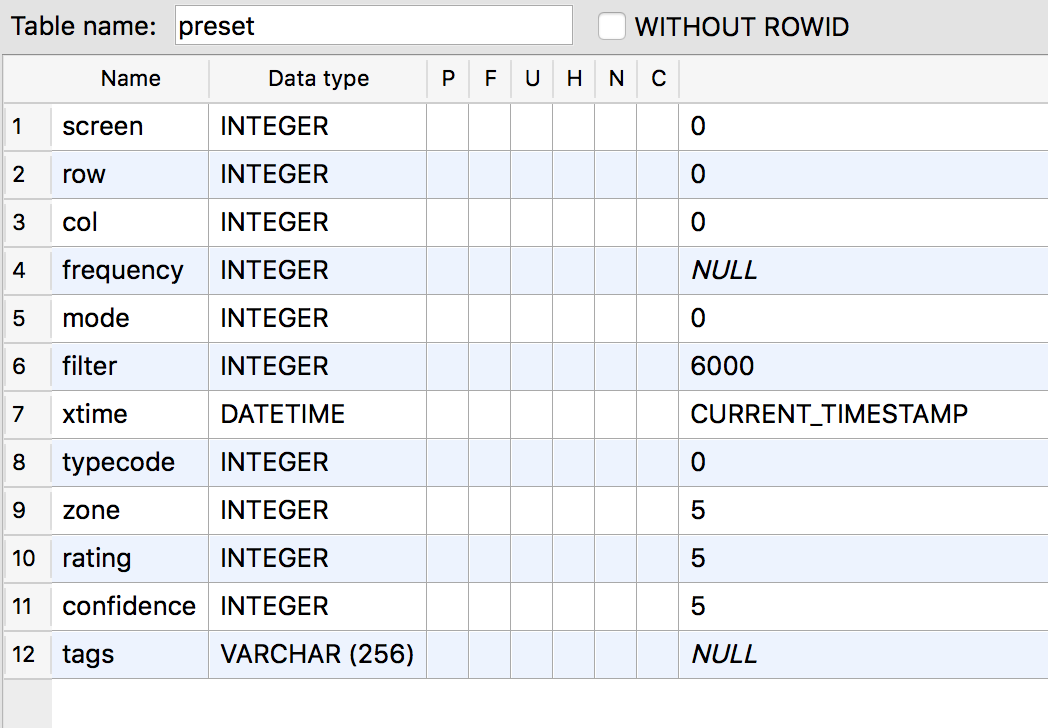
preset table:
The preset table contains one record for each 8×8 launchpad button, for each of 3 screens.
- screen 0: fixed presets (red) (static and persistent)
- screen 1: time presets (green) (rebuilt with each time query)
- screen 2: user presets (yellow) (persistent but can be modified using the Launchpad)
Data from each of theses screens is also displayed in jit.cellblock objects in the Max patch. All of the fields correspond to the fields in the freq table – except for screen, row, and col which are locators for the launchpad.
Using the database
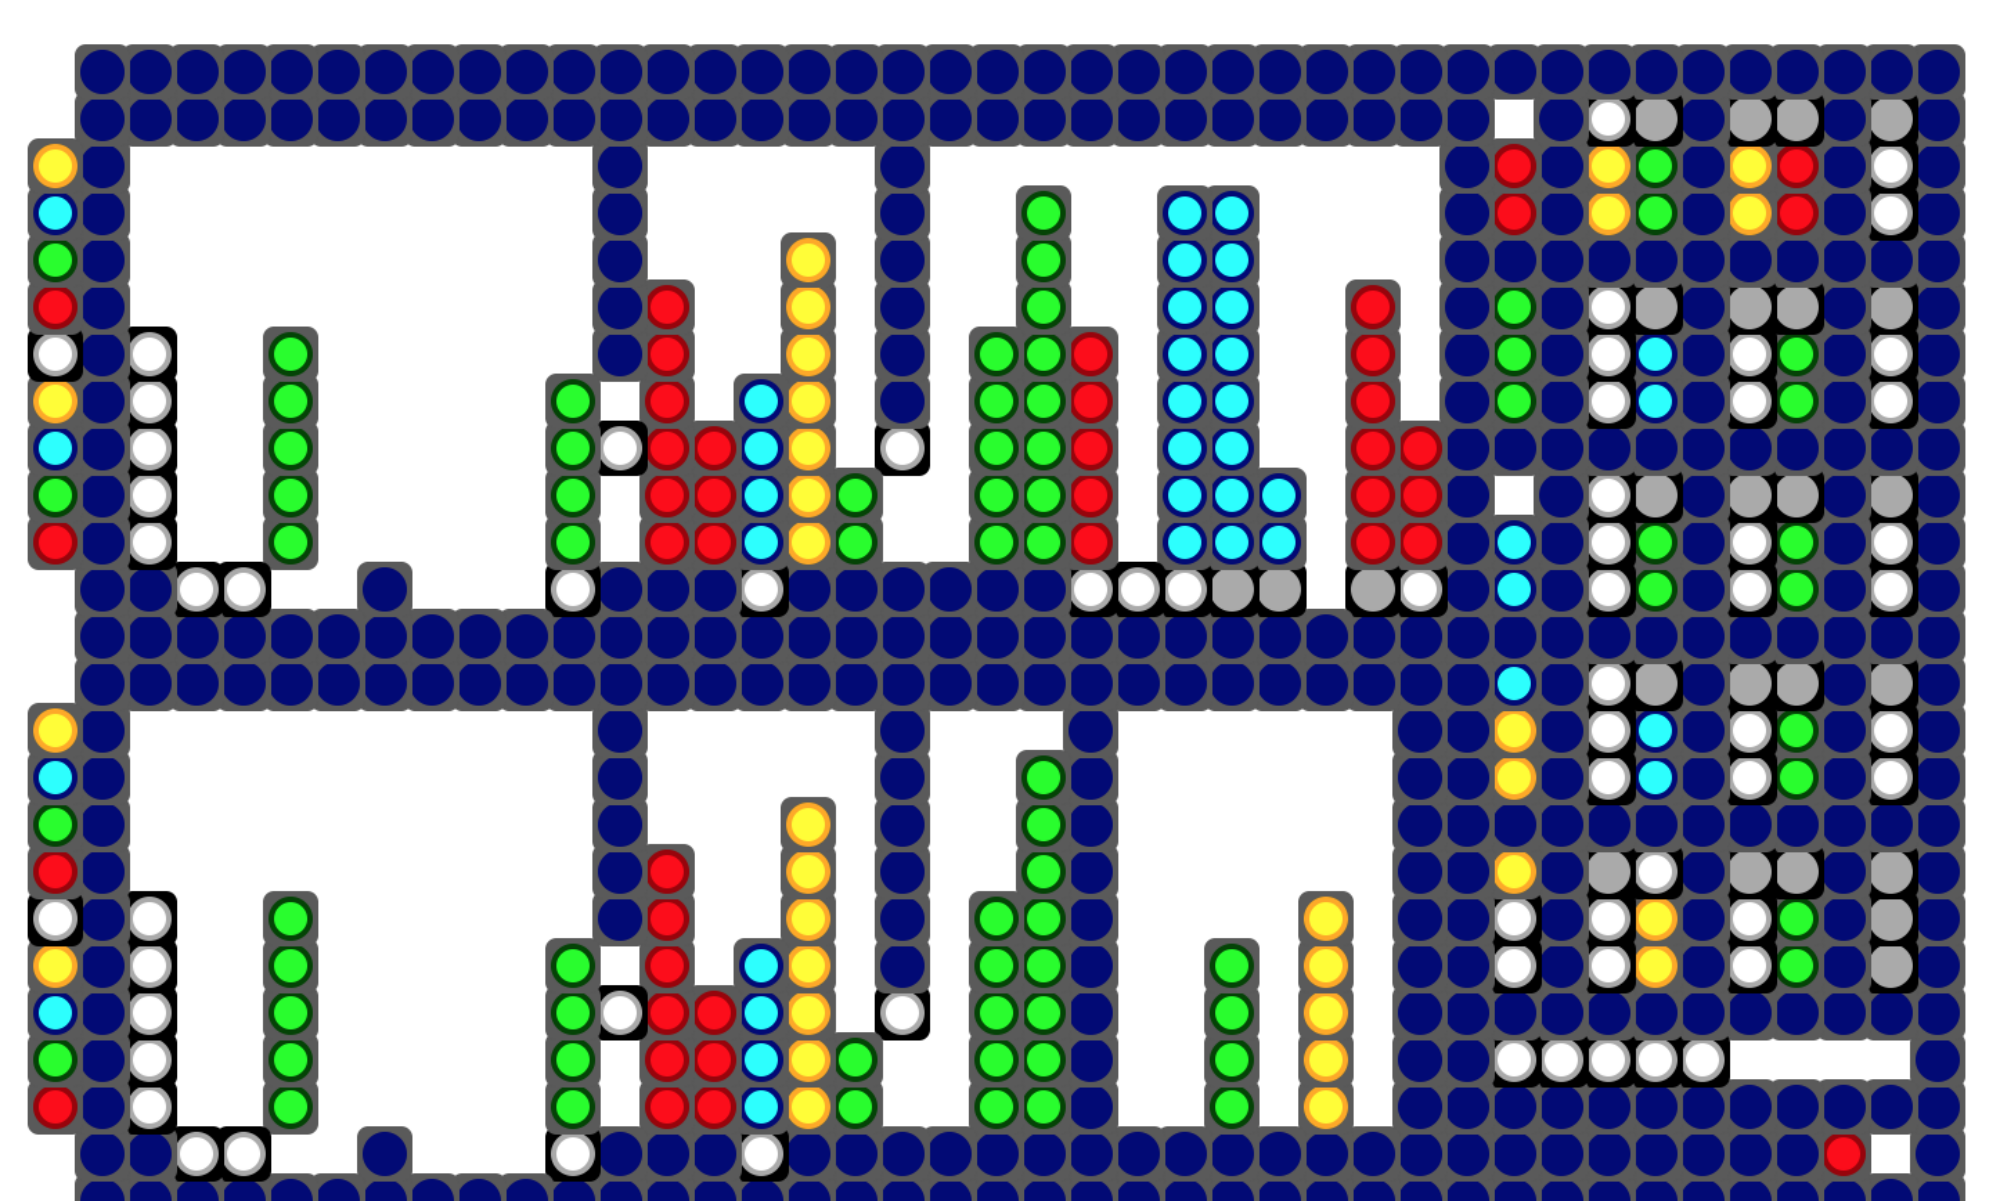
Launchpad presets
There are three screens of presets color coded using the Launchpad mixer button (upper right). Press it to cycle through the 3 screens.
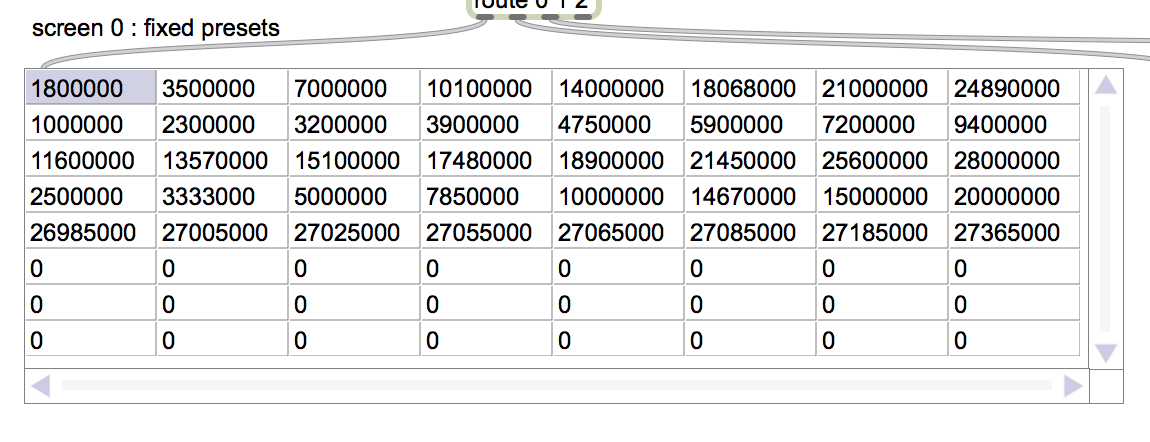
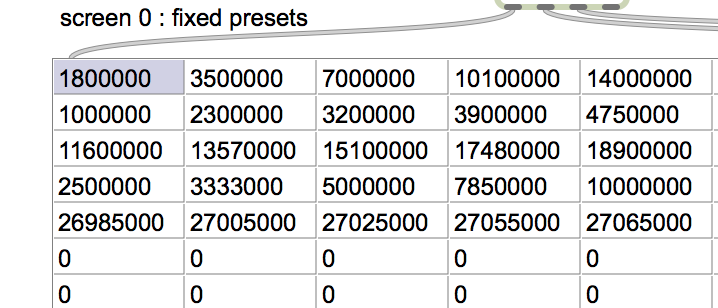
0 fixed presets (red)
The fixed presets are static. But can be changed using SQLiteStudio. They contain commonly used radio frequencies, like the SW, Ham, and CB bands. And clock stations.
To select a preset, press its button on the Launchpad.
Currently assigned presets:
1 Time Presets (green)
Time presets are frequencies with Timestamps that match a selected range. For example, every frequency within one hour of the current time. These can be selected with a query in the Max patch, or using default values from the Launchpad. The query will randomly match up to 64 records. If the query returns less than 64 records, you will get all matching records, but in random order.
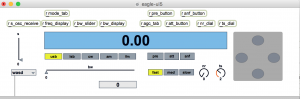
From the Max patch:
Match hours plus/minus current time (0-12).
Type the number of hours in the number box and press the button under the delay object. This reloads the presets.
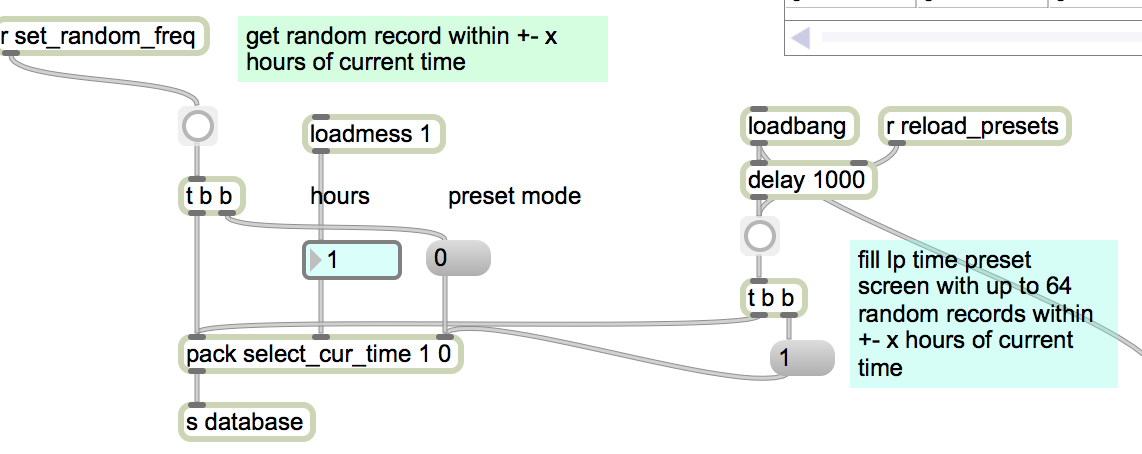
You can view the results in the jit.cellblock:
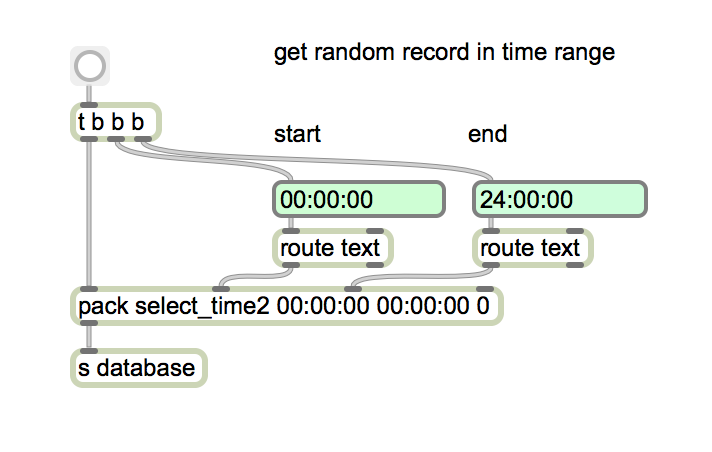
Match a specific time range:
Enter the start/end times and press the button.
Selecting from launchpad
trk button: re-runs query using last set number of hours plus/minus current time. Default is one.
solo button: select one random preset using current hour range, and play it?
User Presets (yellow)
The user presets work like the pushbuttons on a car radio. Press to select. Hold to save the currently tuned radio frequency.
The learn button (upper left) gives feedback. If you press a pad for which no frequency has been assigned, the learn button will flash red. When you save a new preset, the learn button flashes green to indicated that the saving is done. If you press a pad for a preset that has already been saved, there will be no flash, but the radio frequency will change.
Adding new frequency records
You can add records using the Max patch or the Launchpad, or from SQLiteStudio.
Adding records from Max:
Tunning the radio fills in all of the fields except for typecode. Tune the radio. Then press one of the typecode buttons. Then press the big green button. You have added a new record.
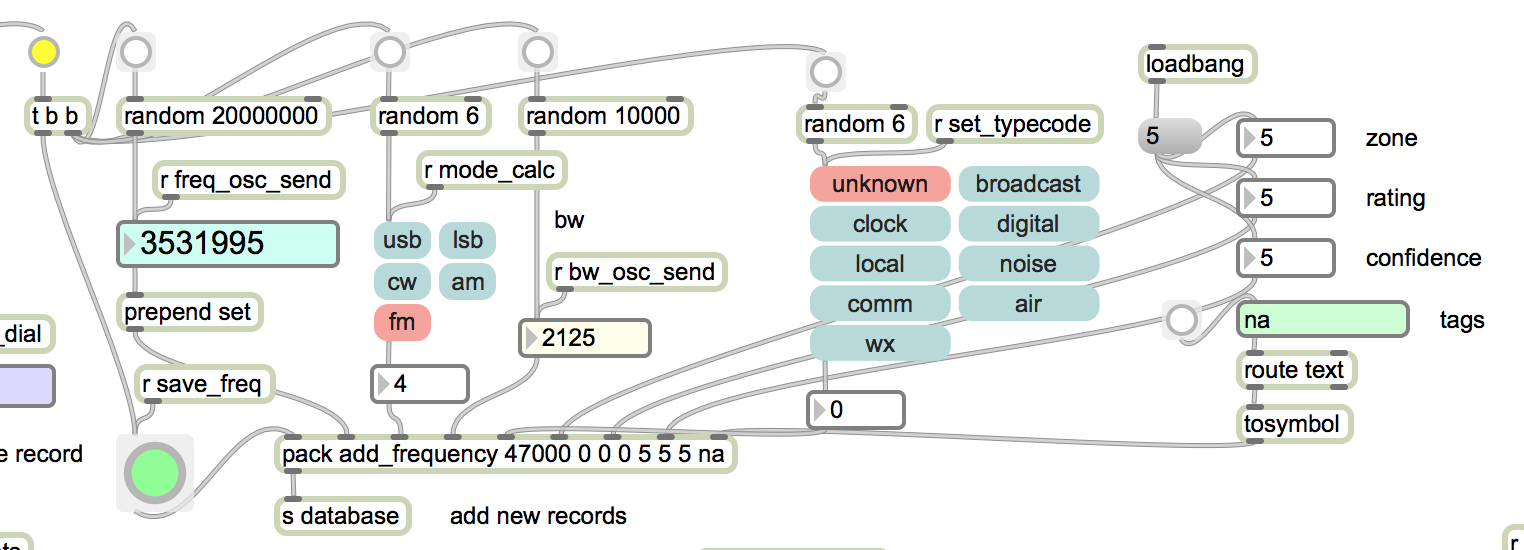
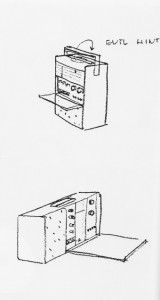
Adding records with Launchpad:
Press the Arm button (lower right) to add a record for the currently tuned frequency, using an ‘unknown typecode’
Adding records from SQLiteStudio
Just do it.