Websdr as a remote receiver with Max/MSP and Elecraft K4

Remote receiver project using Websdr as a remote alternative to a local receiver.

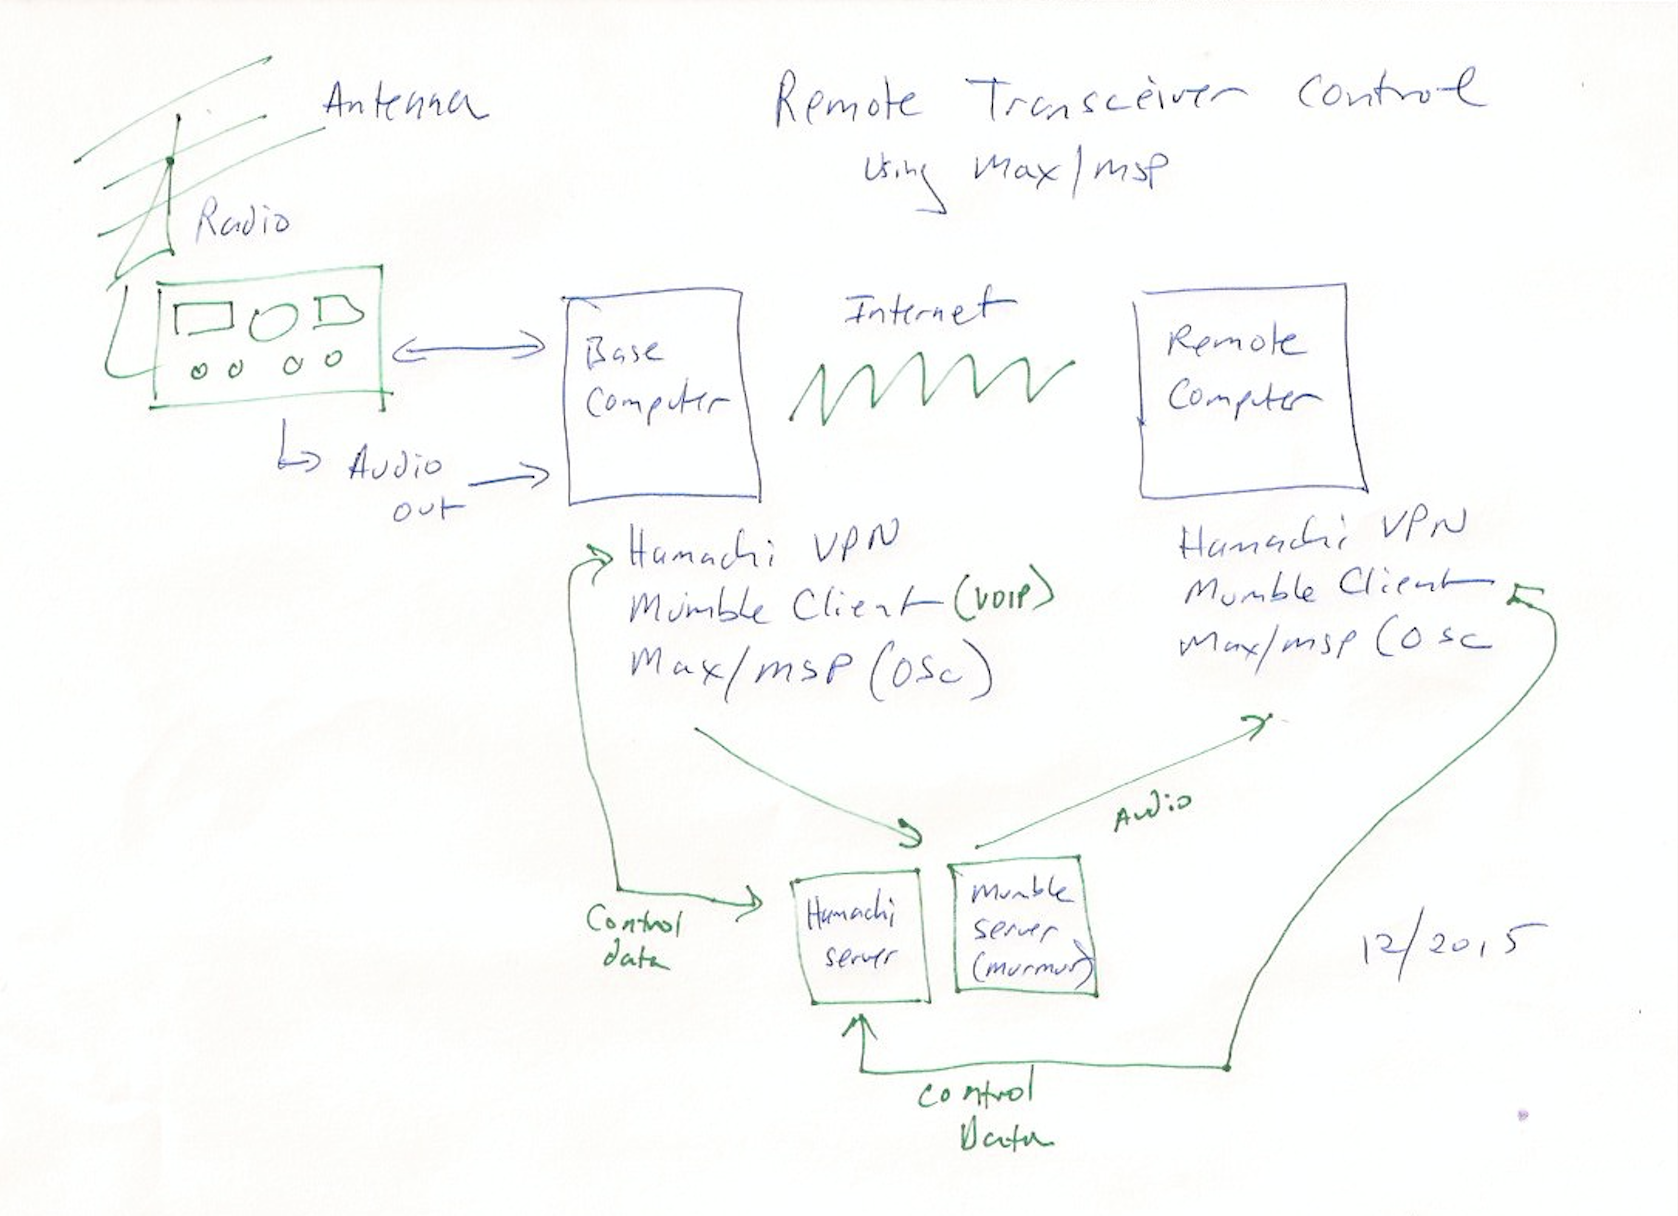
Demonstration of a Max/MSP program that connects an amateur radio transceiver to Websdr – transmitting locally from Maine (USA) while receiving remotely using a radio in the Netherlands. The Max program reads the frequency from a Elecraft K4 transceiver, to control the Websdr sites. It also loads the remote receivers, controls audio routing, mode, filter, and waterfall display settings. An iPad, running touchOSC, acts a a control panel. Up to 4 remote receivers operate at the same time. Websdr is a remarkable system, developed by PA3FWM at http://websdr.org/. It lets you control remote receivers worldwide, from your Web browser.

Components:

  • Max/MSP
  • Websdr
  • TouchOSC
  • Elecraft K4 transceiver with antenna system
  • Skookumlogger (logging software)

Max Patches:

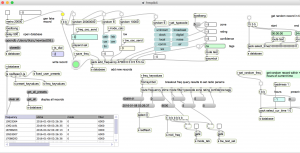
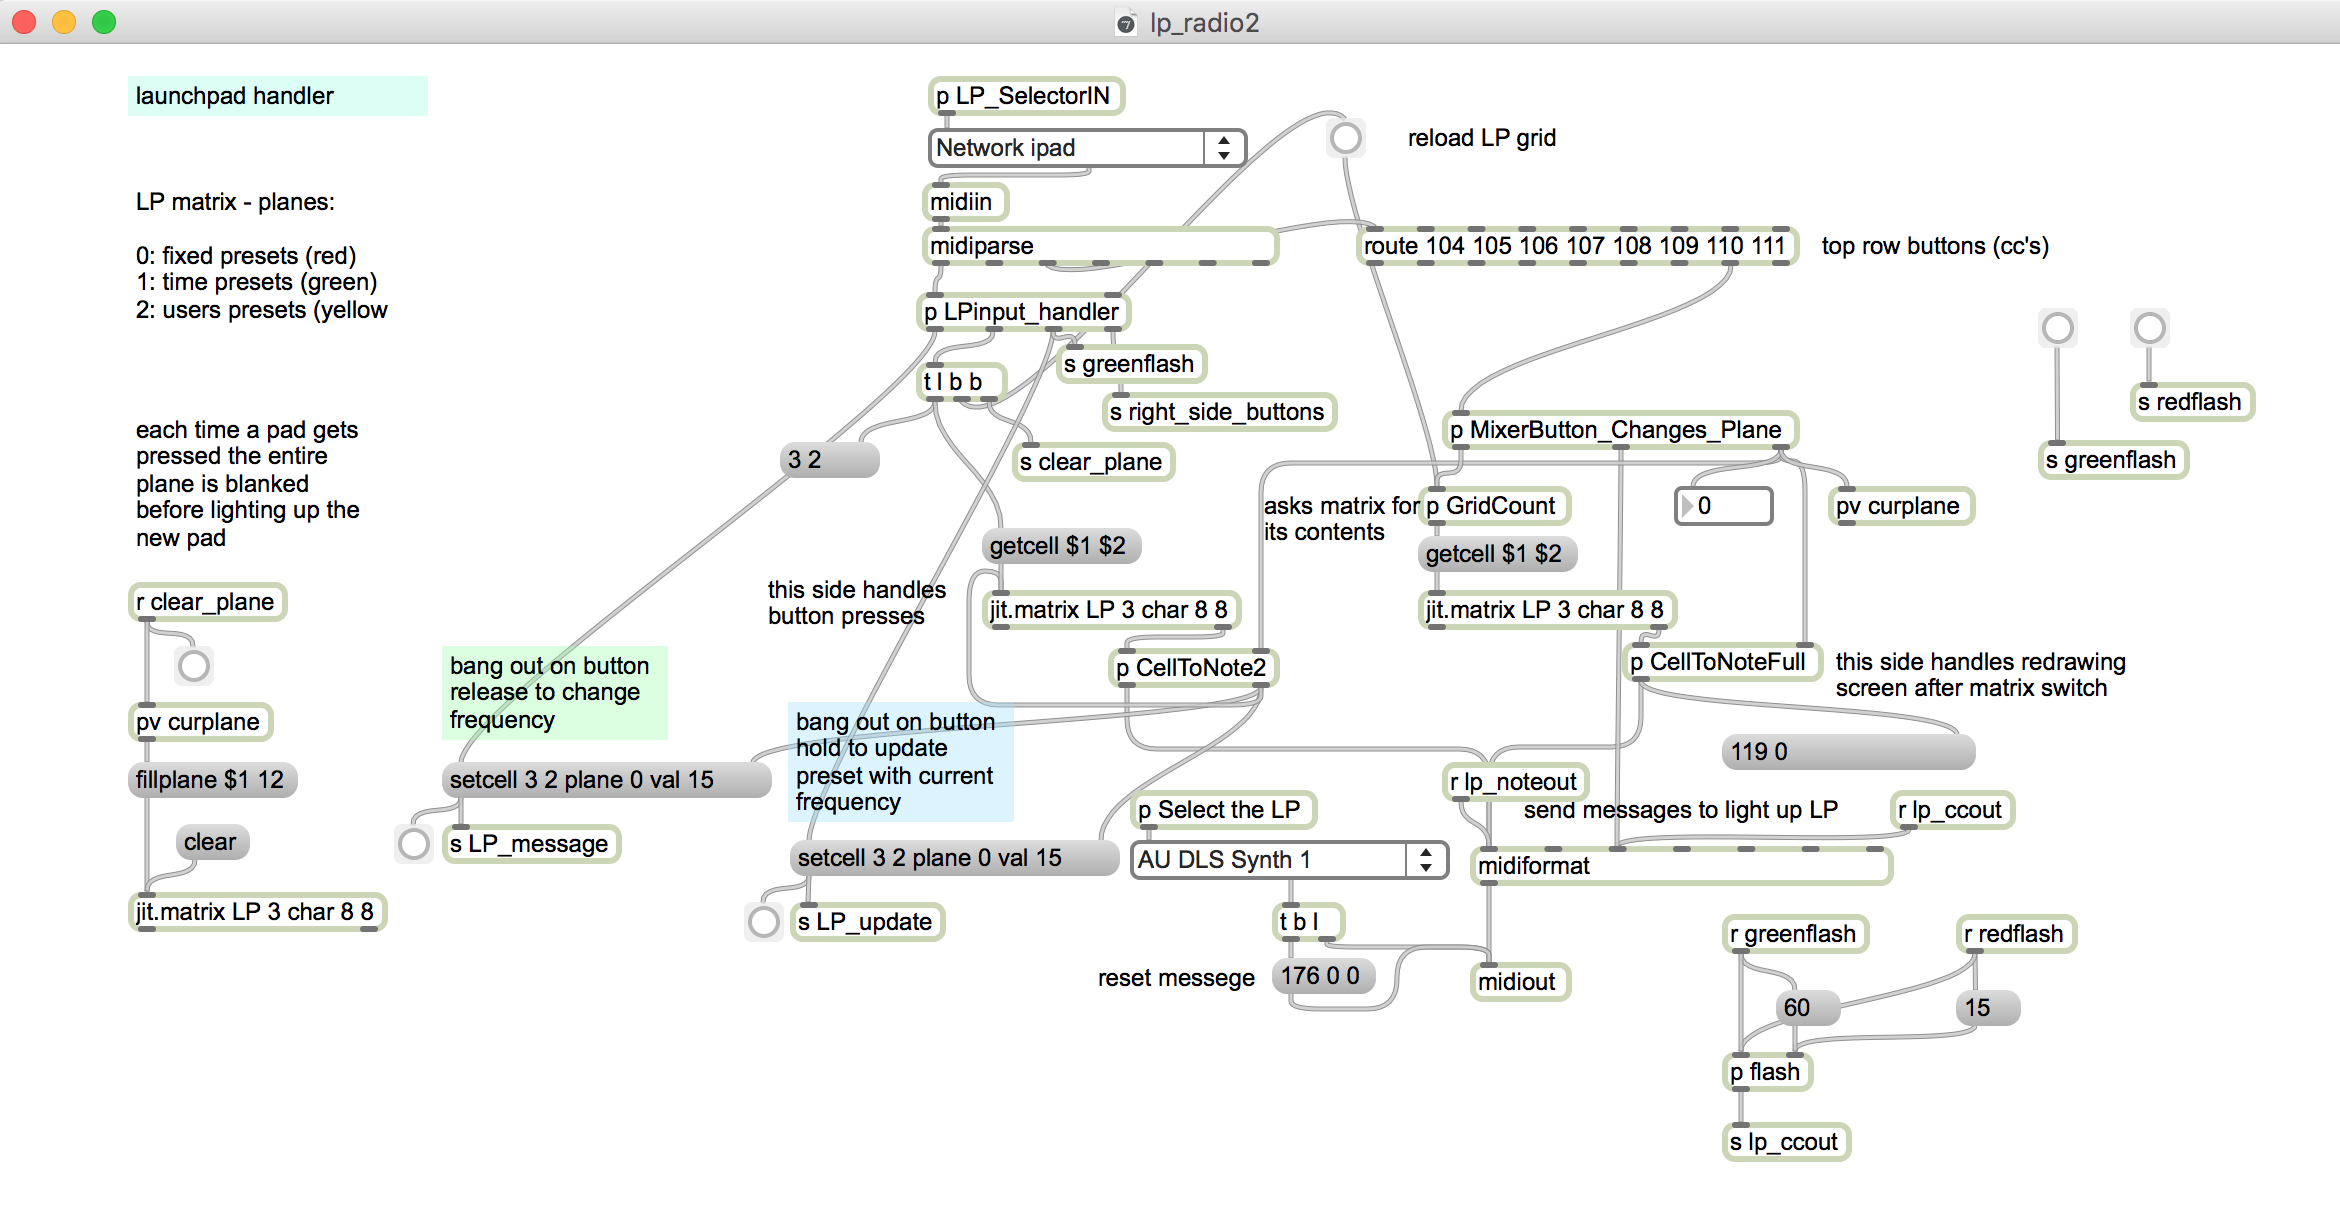
websdrjweb7.maxpat : main control program. Contains [jweb] objects for launching websdr instances. Also code for injecting javascript to control parameters like frequency, filter, and volume. This patch acts as an intermediary between TouchOSC, WebSDR, and allows external MIDI control as well as getting frequency input from CAT controlled radios like the Elecraft K4.

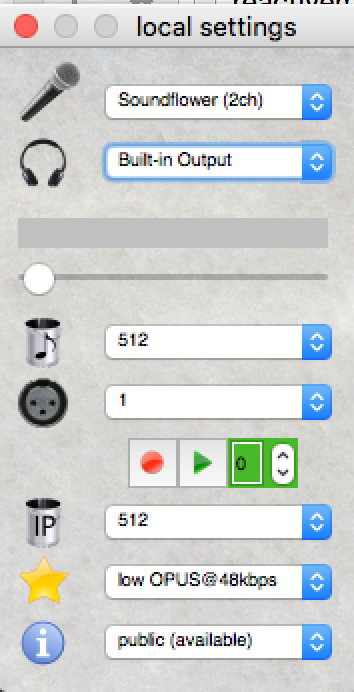
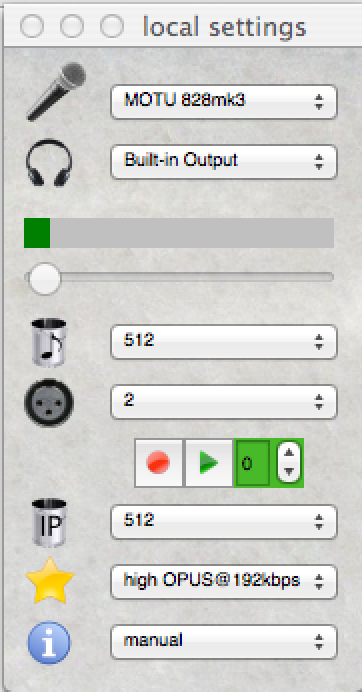
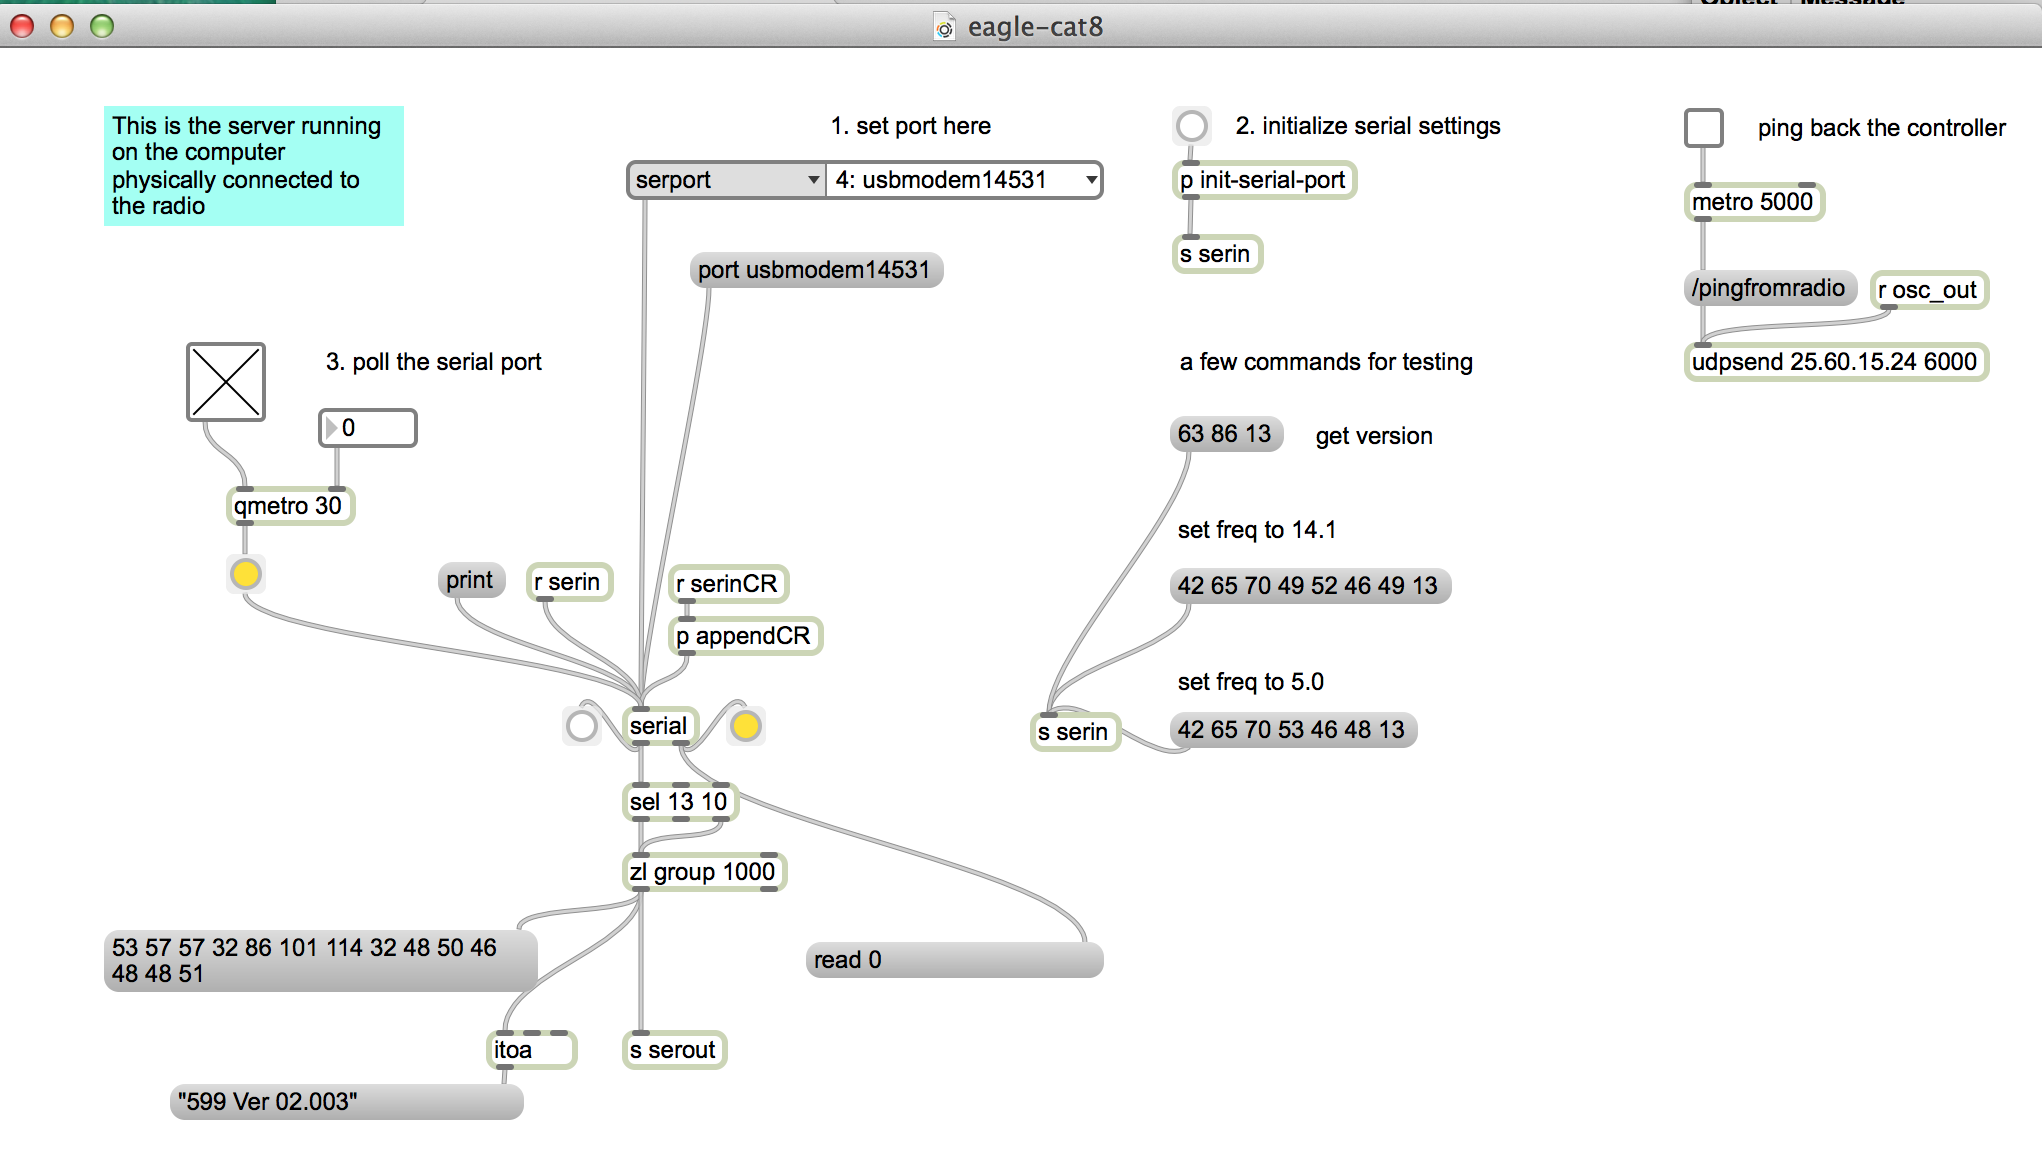
websdrCATaudio.maxpat : handles serial port interaction for the K4. Also reads audio stream from either the K4 receiver (via USB) or the websdr receiver (via Blackhole.)  I created an aggregate audio device called K4sdr to allow Max to read both devices at the same time. Audio switching and levels are handled using a Korg nanoControl2. For example to switch between the audio streams or listen to both.

Optional: arduino-ptt-detect2.maxpat : reads serial data from an Arduino, connected to the amplifier keying line, to determine whether the radio is in transmit mode, so we can switch back to the local audio stream to eliminate latency of hearing your signal via websdr. See subsequent post about this setup…

TouchOSC

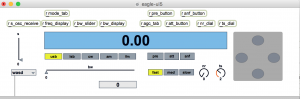
websdrCW3.touchOSC : controls all 4 websdr channels, ie,., volume, mute, filter, CW offset, filtershift, – Also handles window management, loading js code, zoom in/out websdr and selecting channel waterfall views or Max code views.

CW Offset

websdr doesn’t have a control for CW pitch offset. To sync the frequency of the K4, the websdr is run in LSB mode with a frequency offset equal to the CW pitch setting in the transceiver. eg., 450 Hz. This works for most of the websdr sites, but unfortunately some of the sdr’s are off-frequency. You can usually compensate by adjusting the CWfreqOffset for that channel (in Max or TouchOSC).

Setting the offset also requires shifting the filter so it is centered over the actual signal.

Files

This is currently a work in progress, not available on Github. Local files are in max teaching examples folder.

Python3 tcp client for Max

Using OSC from [udpsend]

I needed a better way to send radio frequency data from Max to a rigcltd daemon (via tcp). This is the method of tuning SDR devices hosted by CubicSDR.

From the max8radio folder run:

py3rigctl2.py

The input is OSC frequency data, on port 8001, in the form: /F 7001000

(This would be for 7.001 MHz)

An OSC server in the python program listens for these messages and then reformats and sends them to a running rigctld daemon running in the background on port 4532

rigctld -m 1 4532 &

The frequency message going to rigctld would be in the format: F+ 7001000


Remote radio – client

How to set up the client side of the remote radio system.

(under construction) patches have not been uploaded to github

This client works with the sever described in the previous post. We are running a MacBook Pro OSx 10.11.4. with the following:

  • logmein hamachi VPN
  • Soundjack VOIP
  • Max/MSP
  • Novation launchpad
  • DJ-Tech CDJ-101 controller

VPN

Install and set up LogMein Hamachi. It is free, for a limited number of computers.  Set up a Hamachi server on both the server and client. It should look something like this:


VOIP

We are using Soundjack VOIP. It is also free. Use the following parameters on the client side.

  • mic: soundflower 2ch (or something that is not currently producing input!)
  • headphone: default output (or whatever you want to listen on)

Screen Shot 2016-04-05 at 12.23.54 AM

You can ignore the rest of the settings, since we are not sending audio. Most of the configuration is done on the server side.

Max

We are using several patches, depending on which hardware controllers you are using. Make sure that the hardware controllers are connected before opening Max.

patches:
  • eagle-ui5.maxpat – User interface and main entry point for client communication and CDJ-101 abstrations

Screen Shot 2016-04-05 at 12.28.56 AM

  • freqdb4.maxpat – database handler

Screen Shot 2016-04-05 at 12.29.17 AM

  • lp_radio2.maxpat – launchpad driver

Screen Shot 2016-04-05 at 12.28.41 AM

After the max patches are loaded, you should be able to control the radio using the UI and the CDJ-101 controller. The red Mixer button in the upper right corner of the Launchpad should be lit.

Instructions:

to be continued…

Remote radio – server

How to run the server side (base station) of the remote shortwave radio system.

(Under construction) The patches have not been uploaded to github yet.

Assuming that the radio and antenna system are operating. We are using an internet connected MacBook Pro running OSx 10.9.5, with a MOTU 828 MK3 audio interface.

VPN

Install and set up LogMein Hamachi. It is free, for a limited number of computers.  Set up a Hamachi server on both the server and client. It should look something like this:


VOIP

We are using Soundjack VOIP. It is also free. Use the following parameters on the server side.

Local Settings:
  • mic: audio interface channel that is connected to radio audio output
  • headphone: doesn’t matter
  • volume: 0
  • audio block samples: 512
  • channels: 2
  • network packet samples 512
  • quality: high
  • userlist: manual

Screen Shot 2016-04-05 at 12.38.03 AM

User list:

UDP/IP: enter hamachi IP of client.

When Soundjack is set up on the client. Press the green start button on the right side of the user list window on the server.

If all goes well, you should hear the radio on the client. Note: The input meter under local settings should be registering audio from your radio. If not, there is a problem with the audio interface.

Max Server

The Max/MSP server exchanges CAT commands via the server serial port to the radio. The command data is exchanged with a Max patch on the client using OSC (over UDP).

Screen Shot 2016-04-05 at 12.46.02 AM

patch:

eagle-cat8.maxpat

instructions:
  • select the radio serial port from the menu (for example: usbmodem 14531)
  • initialize port settings
  • set toggle to poll the serial port

At this point you should be able to try the example commands, for instance to get the version or set frequency. If the commands are not working, it indicates a problem with the serial connection to the radio.

Next, check the IP address of the udpsend object. It should be the hamachi IP of the client.


Internet shortwave radio using Max, Hamachi, and Mumble

How to control an amateur radio transceiver over the internet, using Osc (Open Sound Control), VOIP (Voice over Internet Protocol) and VPN (Virtual Private Networks).

What problem does this solve?

Using a shortwave radio receiver in a  live performance without installing a large antenna system.

This method gives low-latency real-time access to audio, and radio control using a laptop computer from anywhere. I suppose it could also remote-control a synthesizer, if you’re into that kind of thing.

CAT

Modern ham radio receivers can be controlled using serial commands using the CAT (Computer Aided Transceiver) protocol. Usually this is done via a USB port. There are hardware solutions for remote controlling radios over the internet, like RemoteRig http://www.remoterig.com/wp/. But there is also a free, or low cost, solution using software.

System diagram

Screen Shot 2015-12-21 at 1.23.10 AM

The ‘base’ computer is connected to the radio/antenna. The ‘remote’ computer is a laptop that could be anywhere connected by WiFi

For this experiment we used a TenTec Eagle transceiver connected to a MacBook USB port. The audio output of the radio connects to the audio input of the MacBook. The MacBook is directly connected to an internet WiFi router using an ethernet cable.

VOIP

A mumble client runs on the base computer, https://en.wikipedia.org/wiki/Mumble_(software)  and also on the remote laptop. Both clients are connected to a Mumble server (Murmur) at Mumble.com http://www.mumble.com/mumble-download.php. You could also run your own server. I set the audio to the best quality and muted the microphone on the remote laptop. We are only using the laptop as a receiver. For transmitting, you could simply open up another channel on the Murmur server. Mumble has very low latency (compared to Skype) and decent audio quality.

Bi-directional commands using VPN and OSC

CAT commands go in both directions – to and from the radio. For example, you would send a command to the radio to change frequency. The radio would send acknowledgements back to the remote laptop.

This is a problem for networks that use NAT (Network Address Translation) because local IP addresses are private, hidden behind routers. The solution that eventually worked was using a VPN called Hamachi https://secure.logmein.com/products/hamachi/download.aspx on both the remote and base computers. Hamachi servers are setup on both computers and connected to each other. This allows the computers to ‘see’ each other as if they were on a local network.

Max and Osc

Max patches are run on both the base and remote computers. The Max patch on the base computer connects to the radio using the serial object and passes commands back and forth over the internet using udpsend and udpreceive (which use Osc).

The Max patch on the remote MacBook sends and receives commands from the base computer using updsend and udpreceive. With the Hamachi VPN, Osc works just like it does on a LAN (local area network).

Automatic reconfiguration of clients

The main advantage of this system is that when you move the remote MacBook to a new location – for example, a coffee shop with public Wifi – both the Mumble and Hamachi clients automatically reconfigure for the location. So you don’t need to know the actual IP address of your computer in the coffee shop. The reconfiguration usually happens within seconds after the Wifi connection is made.

Alternatives

If you are just working across a LAN, you don’t need a VPN. Osc will run on a local network using private IP’s.

You could also try Ross Bencina’s Oscgroups http://www.rossbencina.com/code/oscgroups. Although I was not able to get Oscgroups to work, other than in a LAN.

For uni-directional Osc communication from remote to base, in a WAN (wide area network) you can use a static IP address for the target.

Skype is another (free) solution for transmitting VOIP audio. Set the base computer in auto-answer mode and call it from the remote computer. Skype will process the audio more than mumble, with noise gates and such. And the latency is higher. But its very easy to set up.

Development

The next step is to build a remote interface for the radio that uses Midi/Osc controllers, so for example you can turn a dial on the Midi controller to change frequency or filter settings on a base radio.

to be continued…

Osc synth in Max

Simple synthesizer controlled by touchOsc

download

https://github.com/tkzic/max-projects

folder: osc-synth

patch: tz-synth-4-touchOSC.maxpat

notes

Shows how to use an ipod or iphone as a controller

components:

  • Max/MSP
  • ipod touch
  • touchOSC

instructions

  1. setup touchOSC on the ipod to send to the host ip address that Max is running on – using port 8000 to send data.
  2. In the Max patch, try one of the last presets for a reasonable synth sound.
  3. In touchOSC, use the top (horizontal ) slider in the ‘simple’ layout.


UDP in Max

With Sadam externals.

By Ádám Siska 

http://www.sadam.hu/software

Streaming & Networking

Name Description
[sadam.stream] Read and write binary streams.
[sadam.tcpClient] Bidirectional TCP client.
[sadam.tcpReceiver] Receive data from the network using the TCP protocol.
[sadam.tcpSender] Send data through the network using the TCP protocol.
[sadam.udpReceiver] Receive data from the network using the UDP protocol.
[sadam.udpSender] Send data through the network using the UDP protocol.