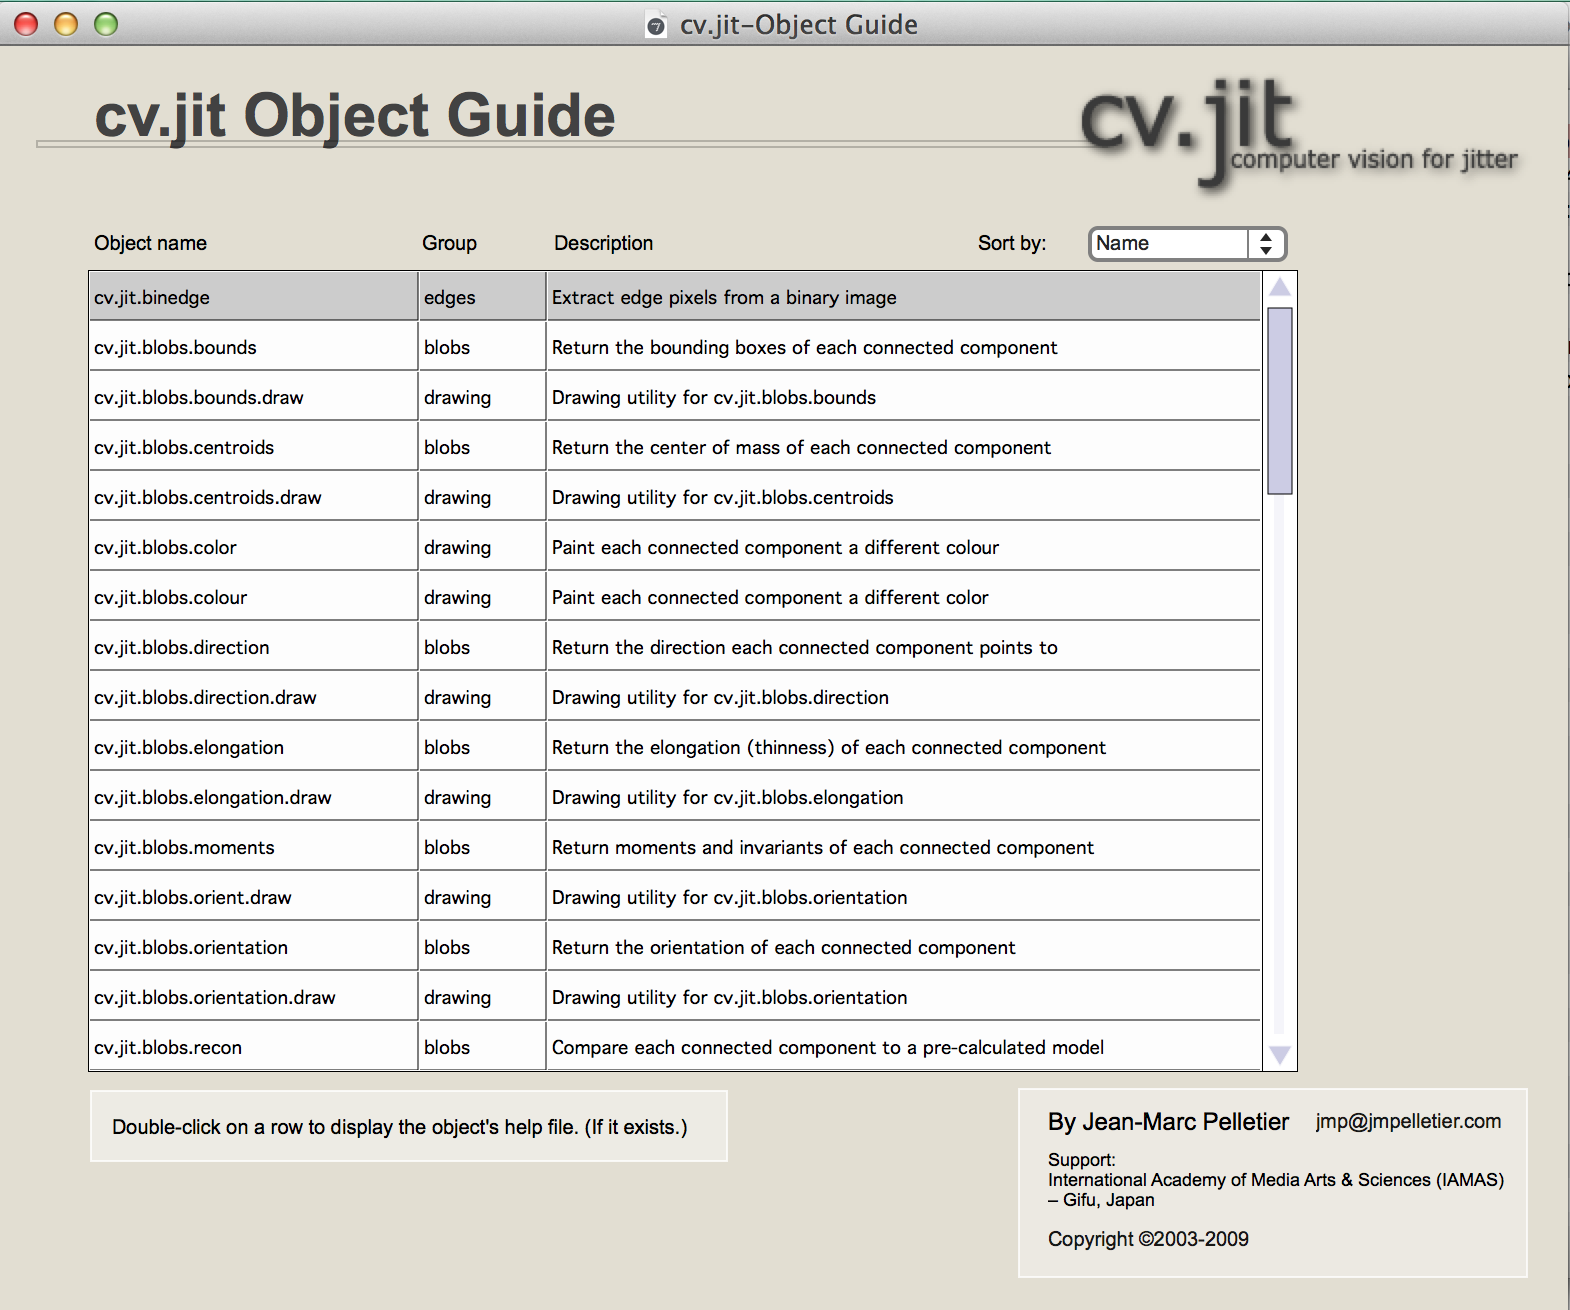
Jitter computer vision library
By Jean-Marc Pelletier
http://jmpelletier.com/cvjit/
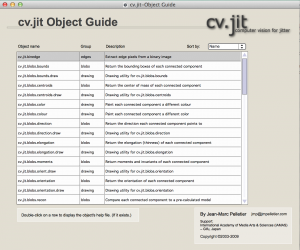
Several examples you can try by running the “help” files. All of the explanatory text below is by Jean-Marc Pelletier.
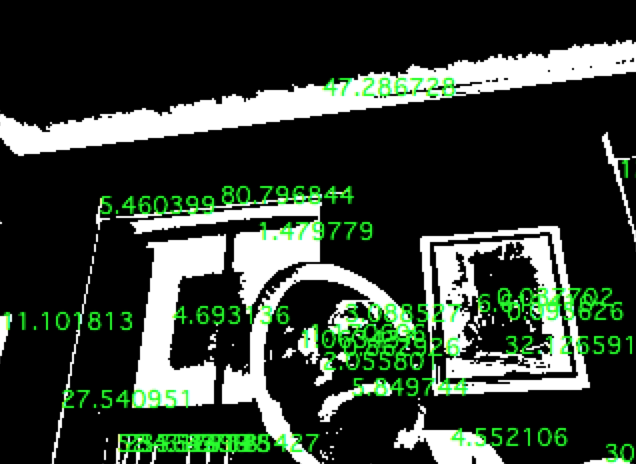
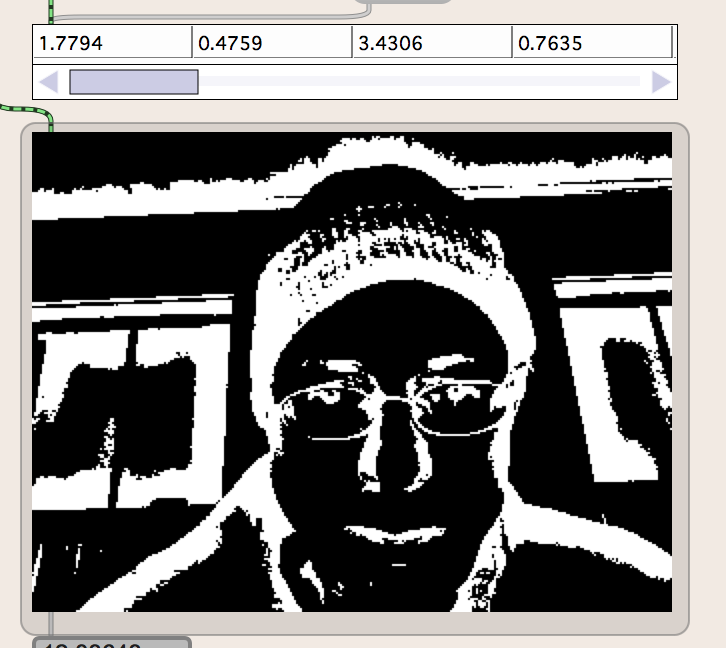
cv.jit.blobs.elongation
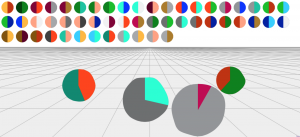
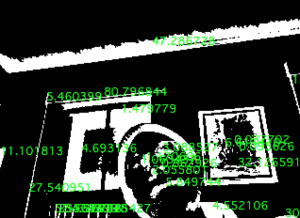
The utility abstraction cv.jit.blobs.elongation.draw superimposes elongation values on the image sent to its right inlet. You MUST also connect the output of cv.jit.blobs.moments to its middle inlet. You can use the attribute “frgb” to set the colour used.
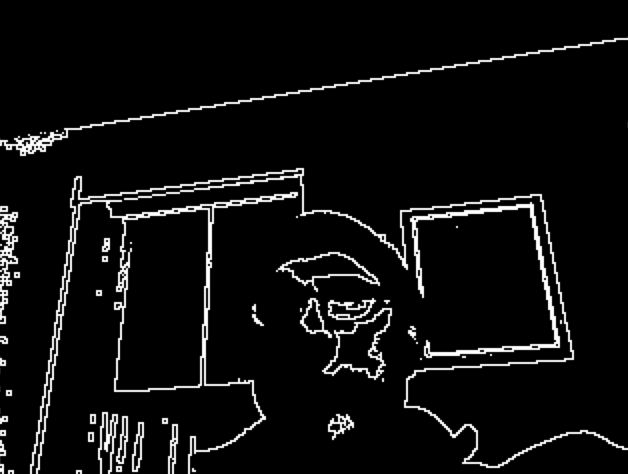
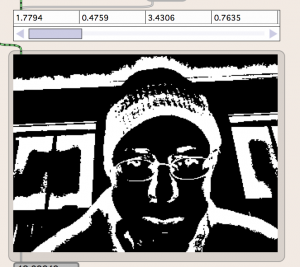
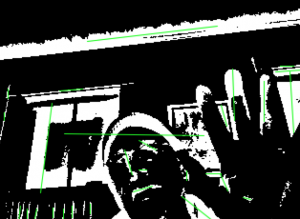
cv.jit.binedge
Marks as ON only pixels that are themselves ON and have a least one OFF neighbour. In other words, it returns only the edges in a binary image.

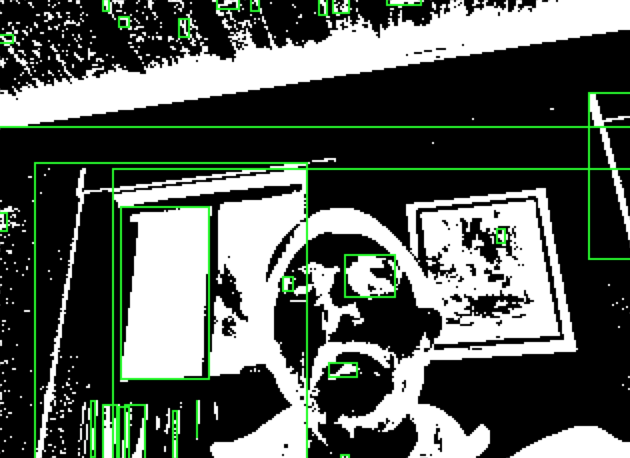
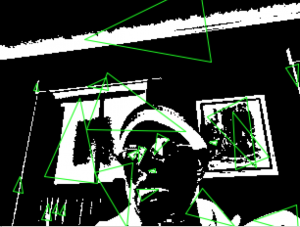
cv.jit.blobs.bounds
cv.jit.blobs.bounds offers similar functionality to jit.findbounds but finds the bounding box for every blob in a labeled image.
cv.jit.blobs.bounds outputs a 4-plane 1-dimension float32 matrix whose number of cells is the same as the number of blobs in the input image.

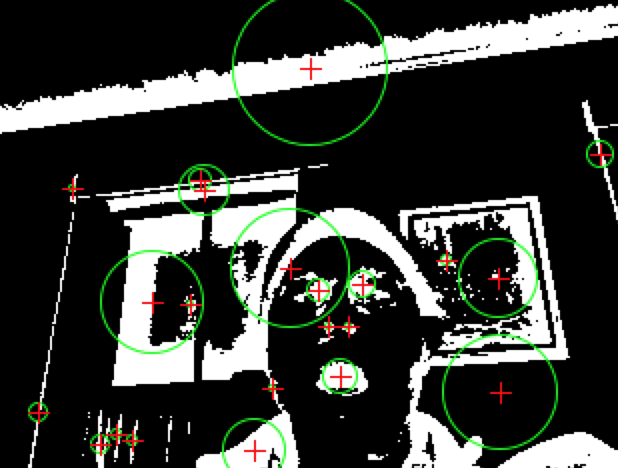
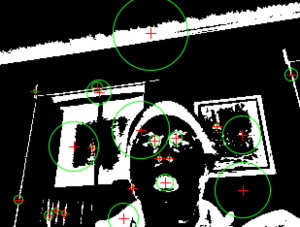
cv.jit.blobs.centroids
cv.jit.blobs.centroids functions much like cv.jit.centroids except that it takes for input the output of cv.jit.label and calculates the center of mass and area of each connected component individually.
The output of cv.jit.label must be of type char.
cv.jit.blobs outputs a single-row, 3-plane char matrix where the number of cells is the same as the number of labeled components.
cv.jit.blobs.direction
cv.jit.blobs.direction is almost identical to cv.jit.blobs.orientation. It also takes in the output of cv.jit.blobs.moments and calculates the orientation of each blob’s main axis. However, unlike cv.jit.blobs.orientation, it takes into account symmetry. This means that cv.jit.blobs.direction can tell which direction a connected component is pointing.
Like cv.jit.blobs.orientation, the output is in radians by default and can be changed to degrees with the “mode” attribute. The output is between 0 and 2Pi.
cv.jit.blobs.moments
cv.jit.blobs.moments functions much like cv.jit.moments but computes moments and invariants for every blob identified by cv.jit.label. See cv.jit.moments for a discussion on moments and invariants.
The output is a 17-plane, single-row float32 matrix. The number of cells is the same as the number of connected components.
The output of cv.jit.moments can be fed to other objects for further analysis. See cv.jit.blobs.orientation, cv.jit.blobs.direction, cv.jit.blobs.elongation, and cv.jit.blobs.recon.
cv.jit.blobs.orientation
cv.jit.blobs.orientation functions much like cv.jit.orientation except that it takes for input the output of cv.jit.blobs.moments and calculates the orientation of the main axis of each connected component individually.
cv.jit.blobs.orientation outputs a single-row, 1-plane char matrix where the number of cells is the same as the number of labeled components.
Orientation is measured in radians by default but you can switch to degree output by specifying “mode 1”. The values are between 0. and Pi radians, with the extremes being horizontal and Pi/2 vertical.
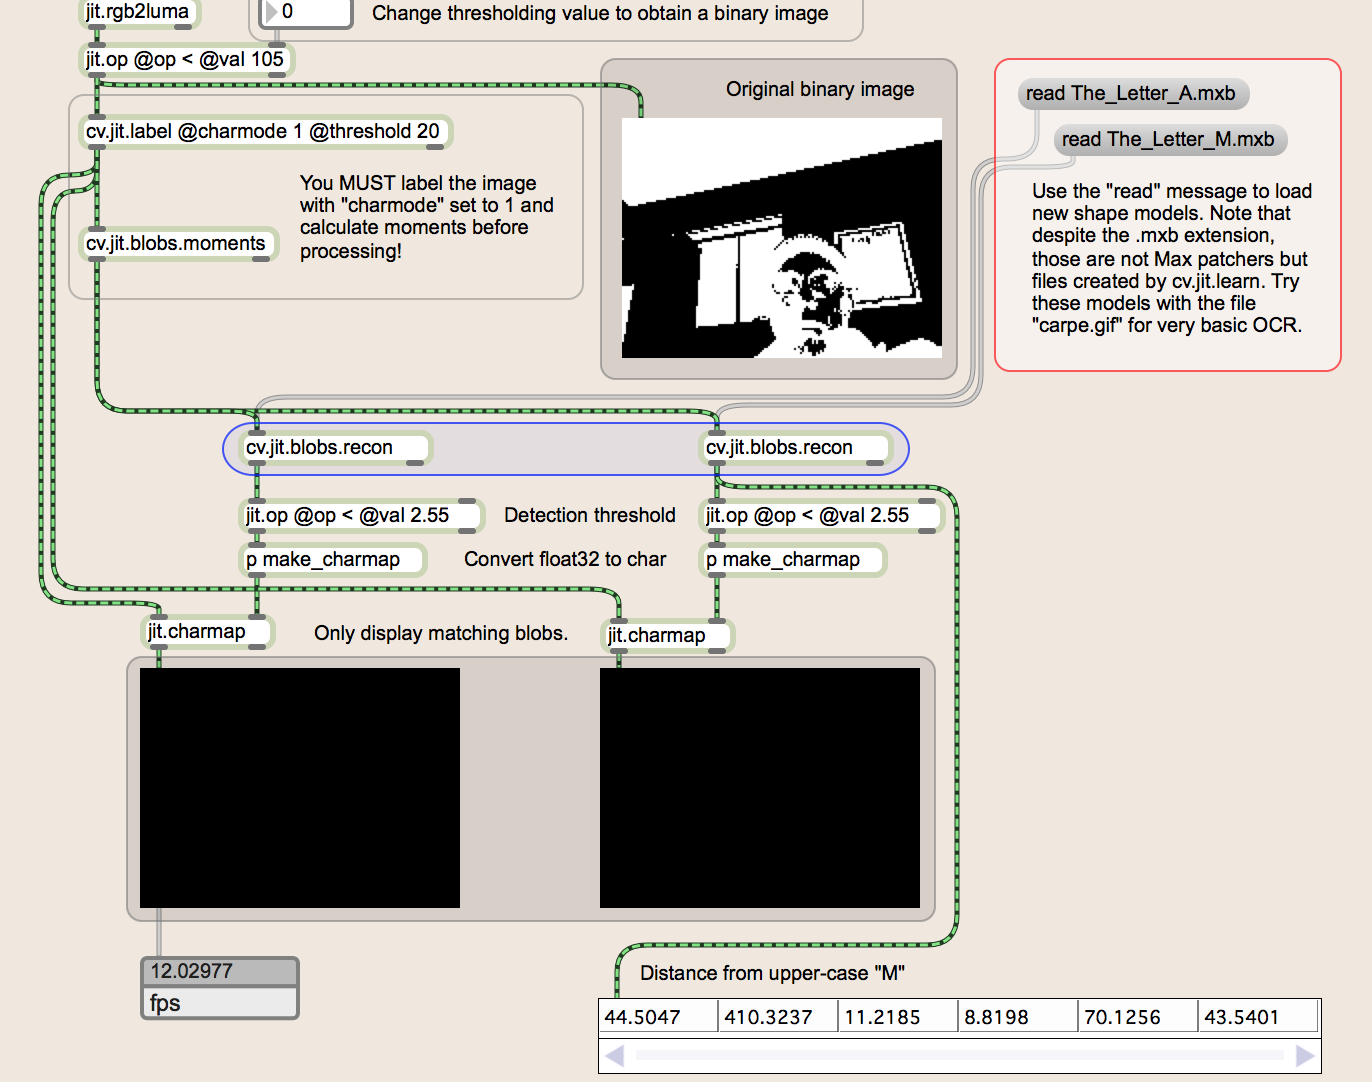
cv.jit.blobs.recon
cv.jit.blobs.recon calculates the statistical distance between blob shape descriptors and a pre-computed model. The model must be created using cv.jit.learn, and cv.jit.blobs.recon functions much like cv.jit.learn’s “compare” mode.
cv.jit.blobs.recon must be fed the output of cv.jit.blobs.moments. Use the “mode” attribute to set whether moments (0) or Hu invariants (1) are used. Make sure that this matches the data used to train the model.
The output is a 1-plane float32 matrix, in which each cell contains the statistical distance between the corresponding blob and the model.. The lower the output value, the more similar the blob’s shape is to the model.