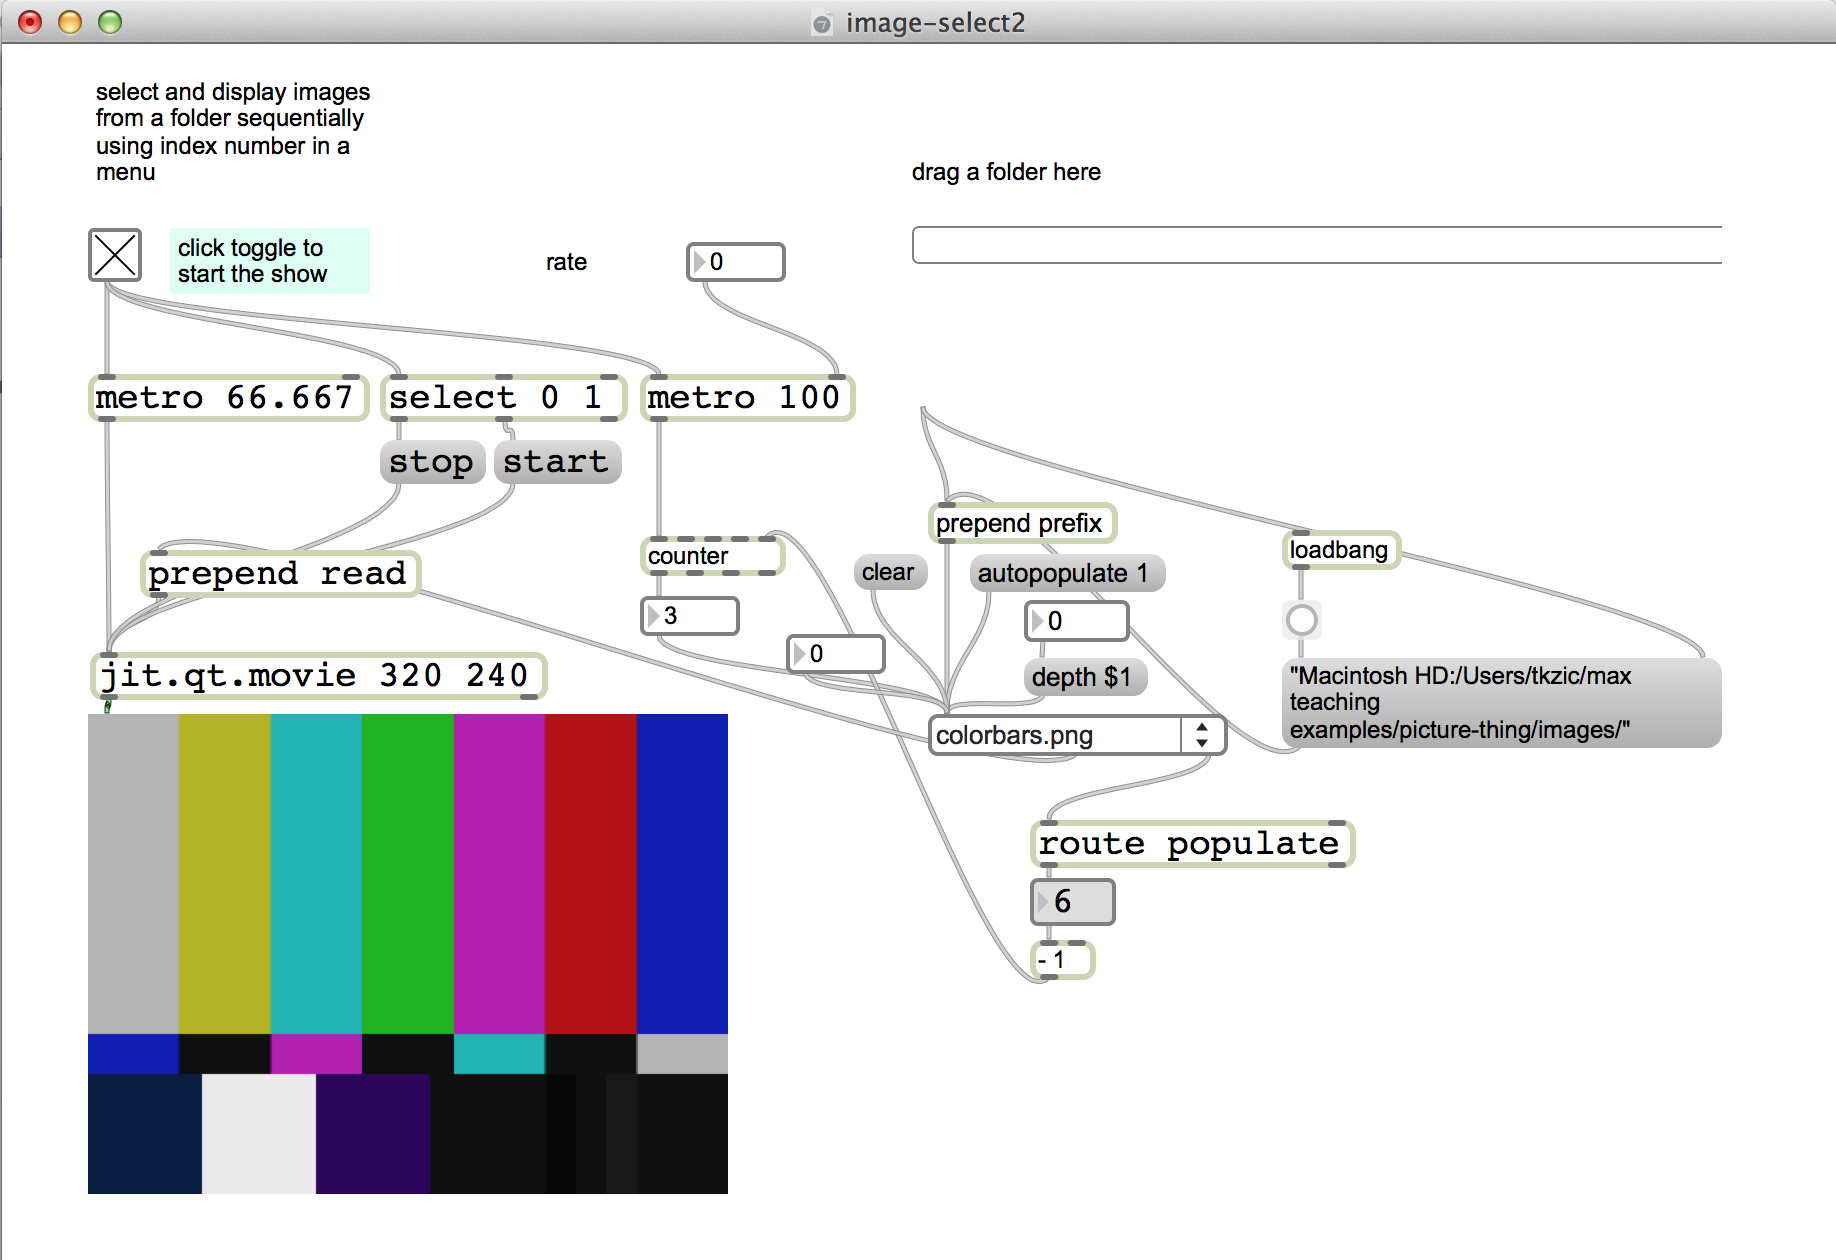
Sequentially display all images in a folder by dragging the folder into a patch.
Download
https://github.com/tkzic/max-projects
Folder: slideshow
patch: image-select2.maxpat
(There is also a version that works with fpic, called image-select3.maxpat)
Sequentially display all images in a folder by dragging the folder into a patch.
https://github.com/tkzic/max-projects
Folder: slideshow
patch: image-select2.maxpat
(There is also a version that works with fpic, called image-select3.maxpat)
The note relationships in a chromatic scale are based on the 12th root of 2.
An octave has a ratio of 2. An octave is divided into 12 equal steps.
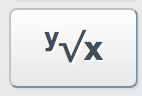
For example, to find the ratio of one semi-tone (half step), on a scientific calculator, use this button:
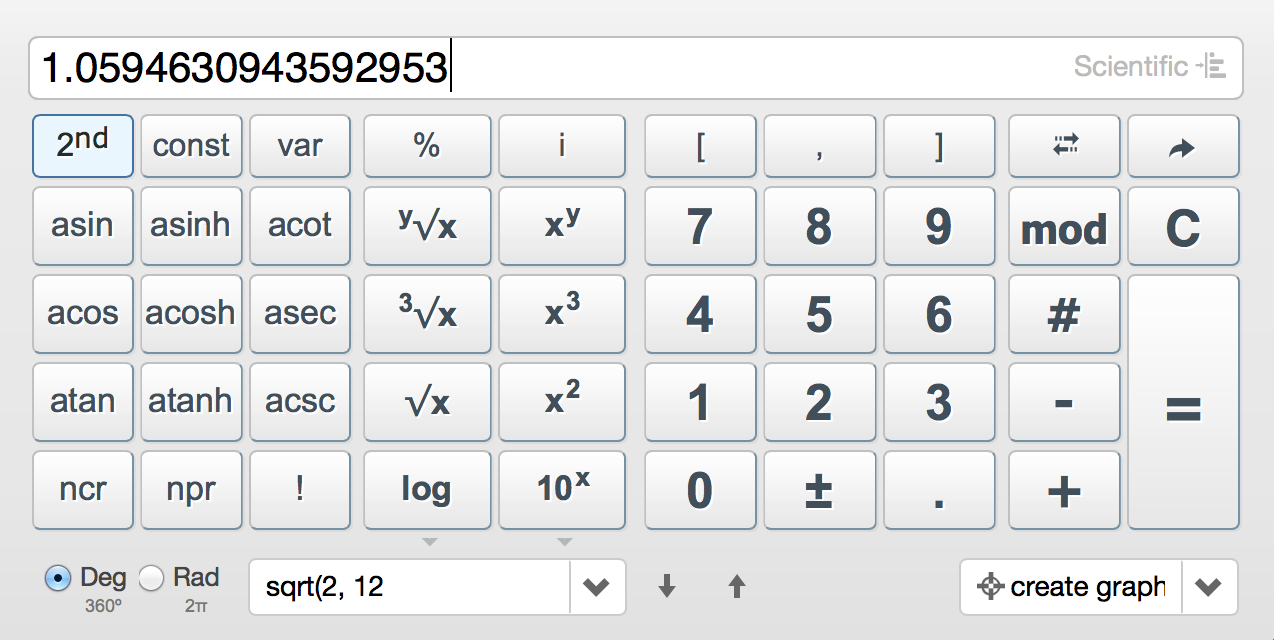
Here’s the result where x = 2 and y = 12
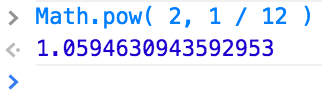
In a computer program, you could use the pow() function calculate 2 to the 1/12 power. Here’s an example in javascript:
This Max patch shows the relationships between any two notes and how to calculate the pitch of a note based on the semi-tone interval. You might use it as a starting point to design your own scales. For example, a 13 note chromatic scale. Or relationships based on randomness.
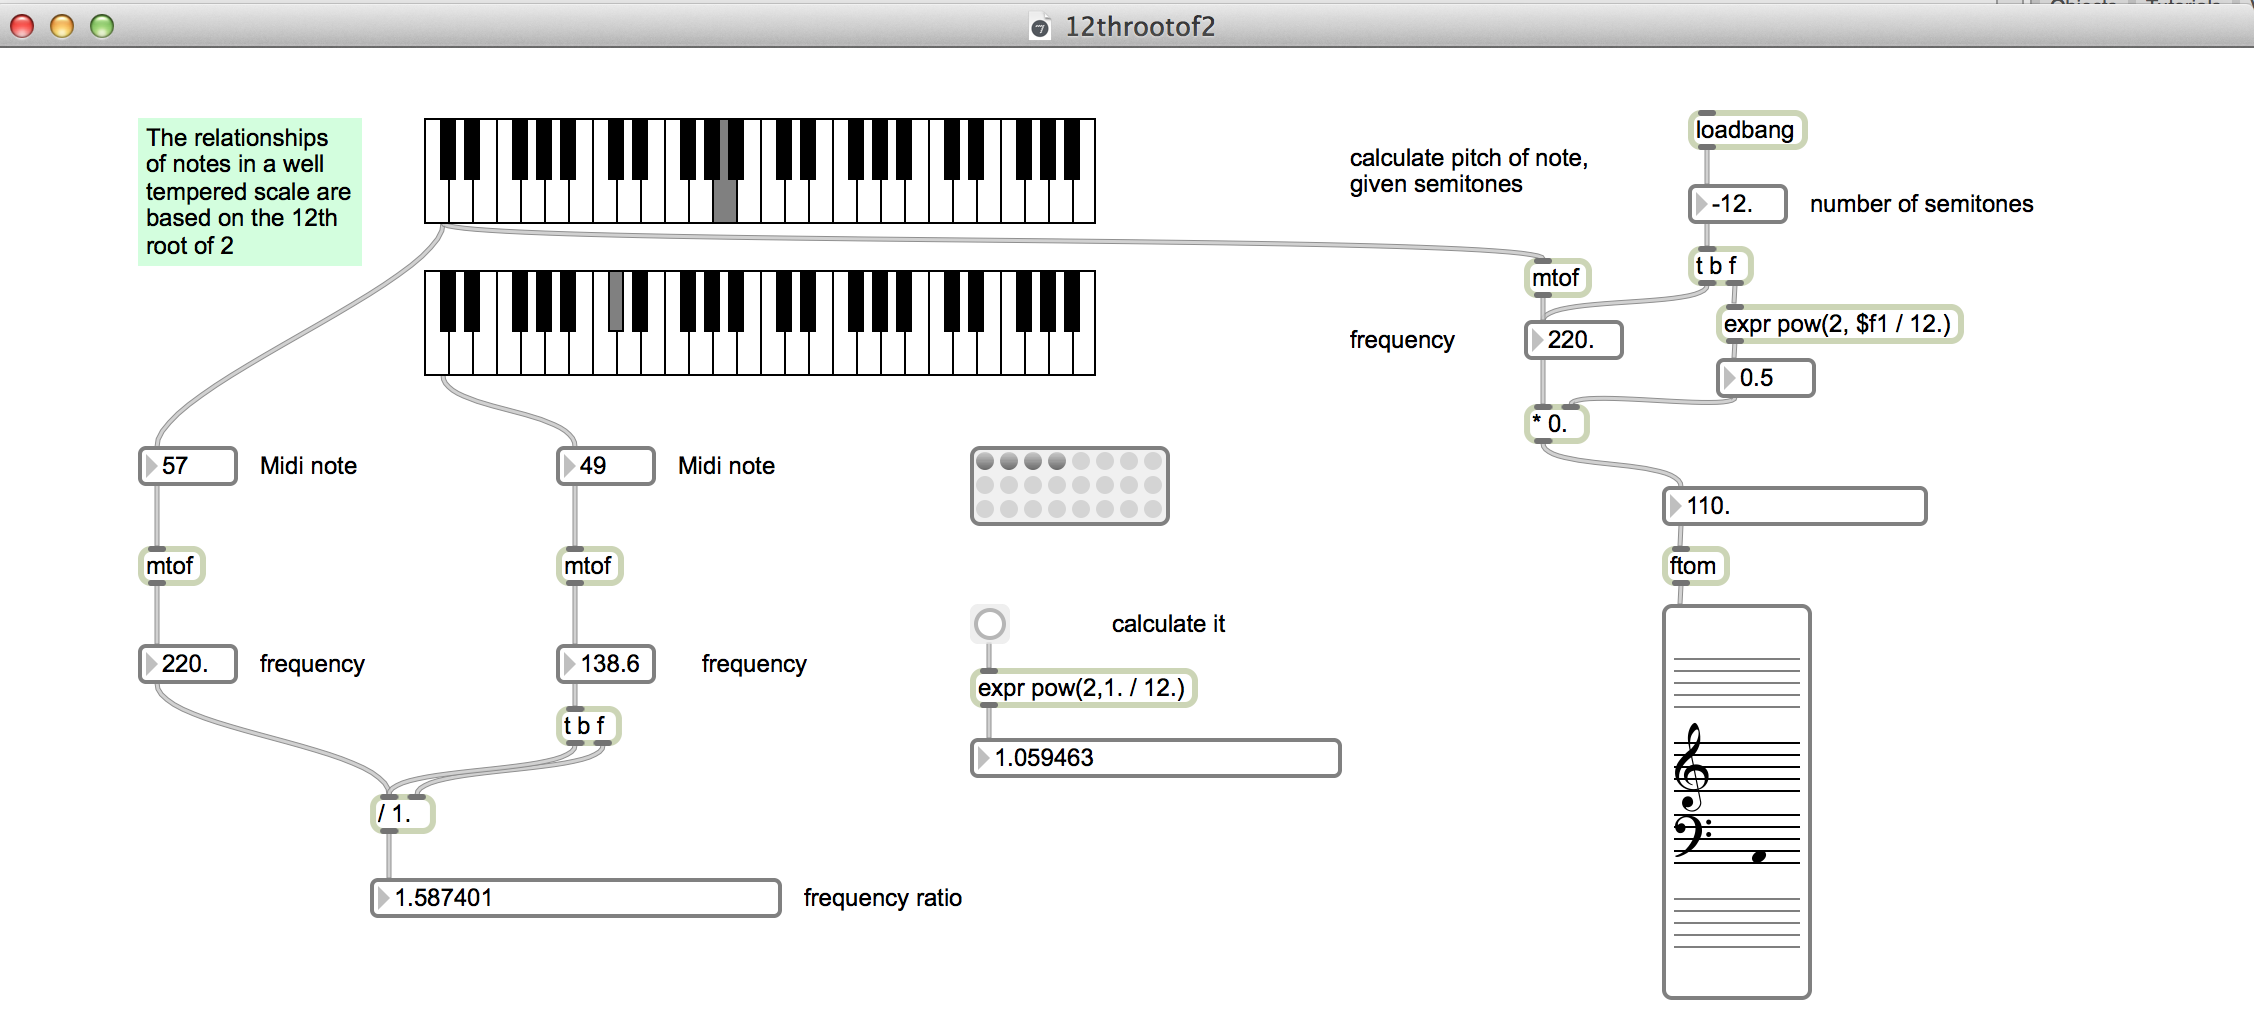
https://github.com/tkzic/max-projects
folder: 12throotof2
patch: 12throotof2.maxpat
http://www.infinitestringquartet.com
Music by: Úlfur Eldjárn
Graphic designer Sigurður Oddsson
Programming by: Halldór Eldjárn.
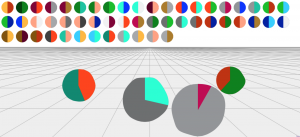
Web GL Interactive graphics.
By somebody?
(runs in Chrome or Firefox)
Music: “Awake” by Tycho: https://www.youtube.com/watch?v=Y9mvrHdWDgU
Jitter computer vision library
By Jean-Marc Pelletier
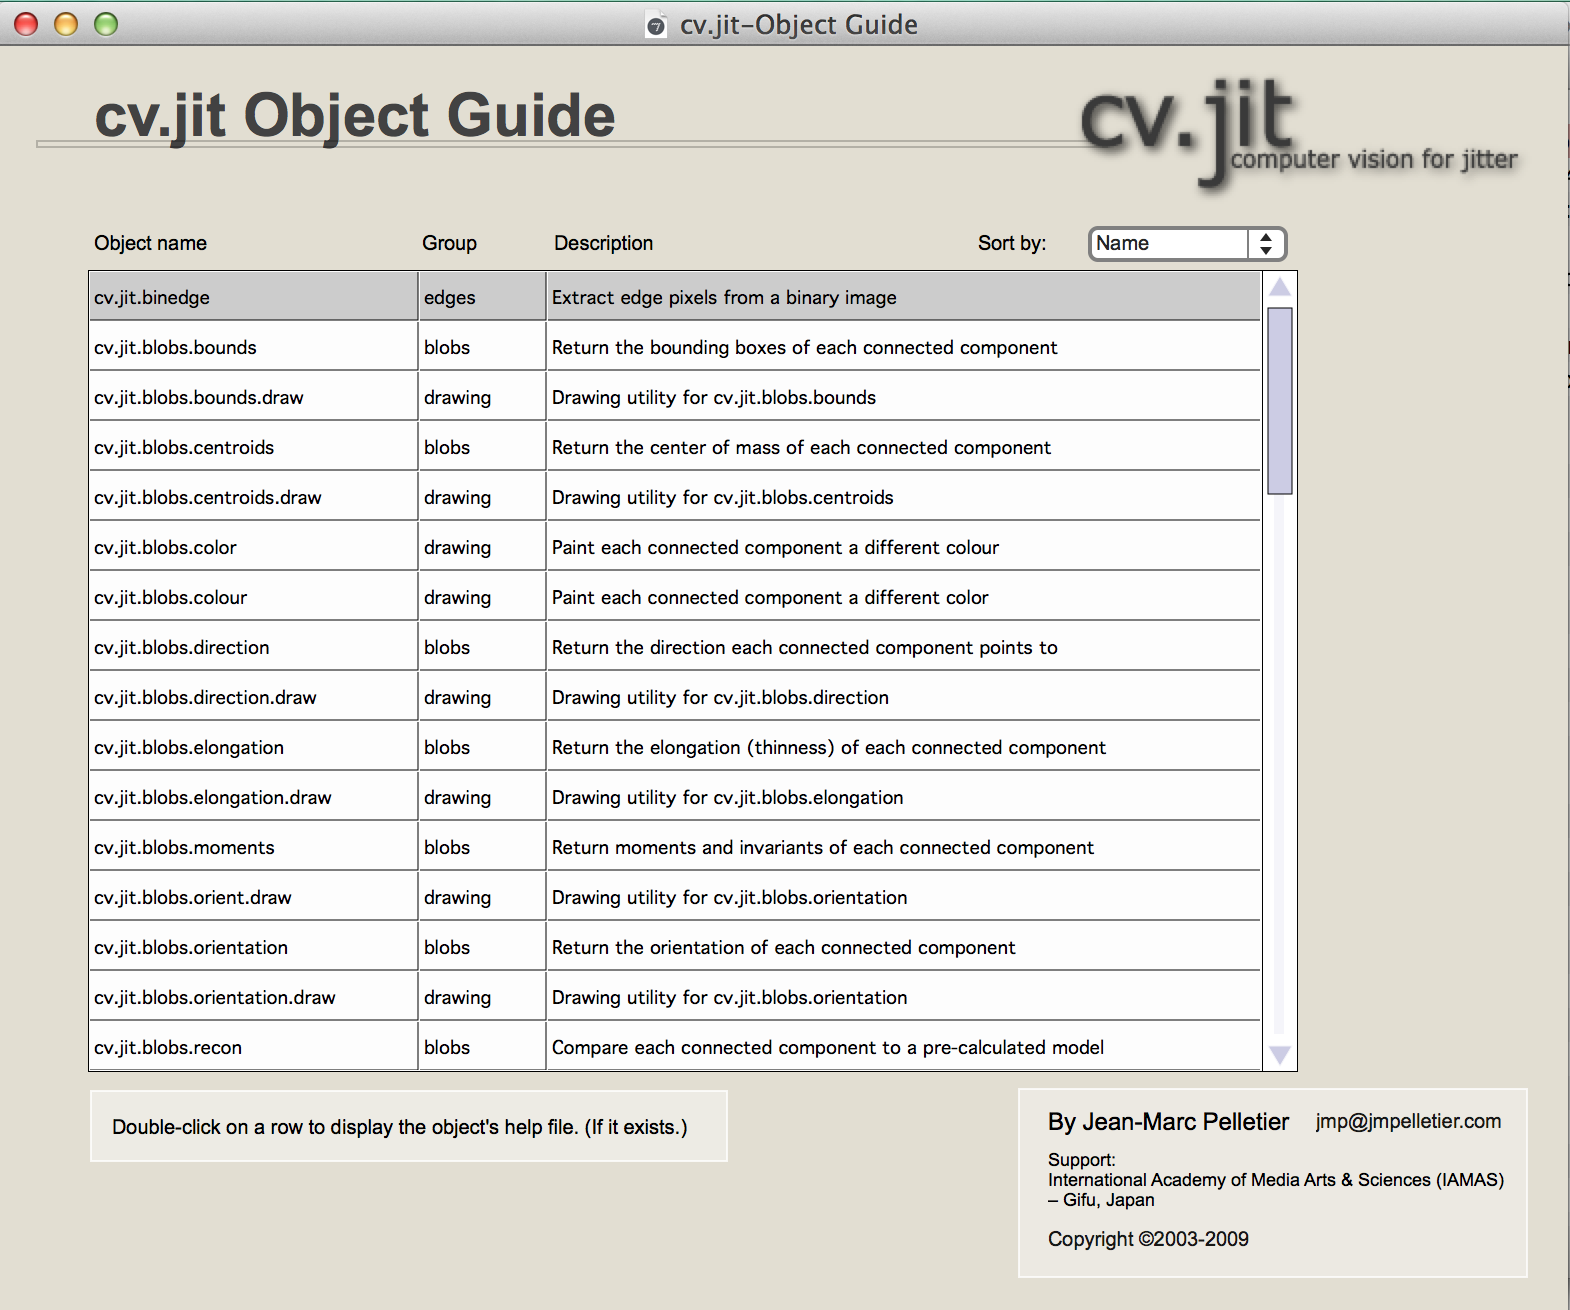
Several examples you can try by running the “help” files. All of the explanatory text below is by Jean-Marc Pelletier.
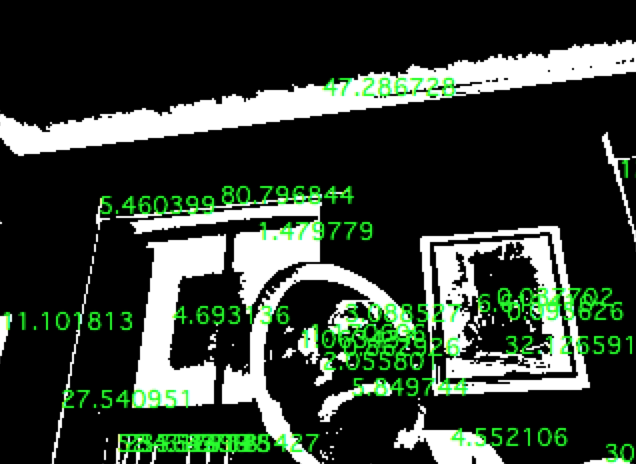
The utility abstraction cv.jit.blobs.elongation.draw superimposes elongation values on the image sent to its right inlet. You MUST also connect the output of cv.jit.blobs.moments to its middle inlet. You can use the attribute “frgb” to set the colour used.
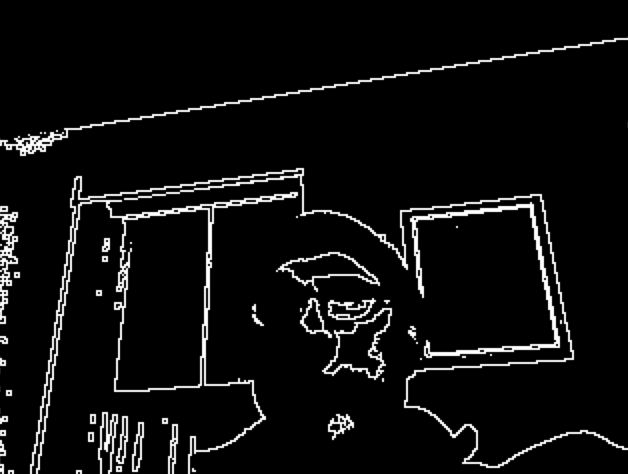
Marks as ON only pixels that are themselves ON and have a least one OFF neighbour. In other words, it returns only the edges in a binary image.
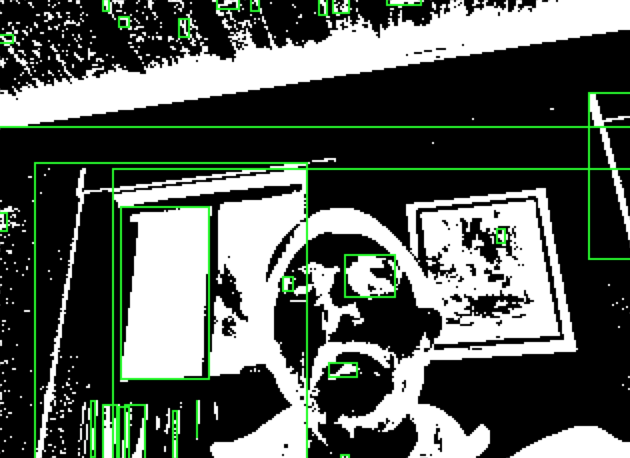
cv.jit.blobs.bounds offers similar functionality to jit.findbounds but finds the bounding box for every blob in a labeled image.
cv.jit.blobs.bounds outputs a 4-plane 1-dimension float32 matrix whose number of cells is the same as the number of blobs in the input image.
cv.jit.blobs.centroids functions much like cv.jit.centroids except that it takes for input the output of cv.jit.label and calculates the center of mass and area of each connected component individually.
The output of cv.jit.label must be of type char.
cv.jit.blobs outputs a single-row, 3-plane char matrix where the number of cells is the same as the number of labeled components.
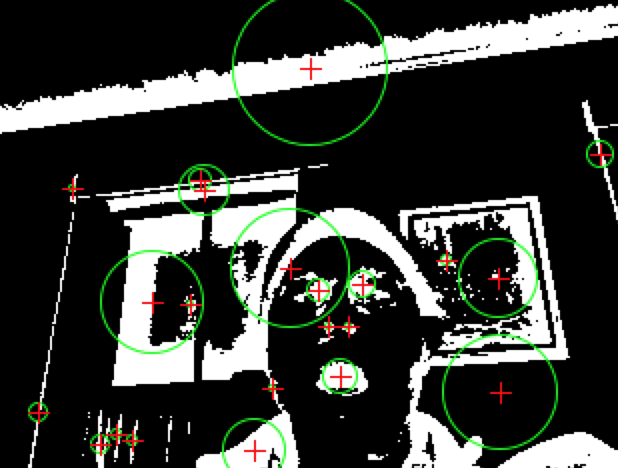
cv.jit.blobs.direction is almost identical to cv.jit.blobs.orientation. It also takes in the output of cv.jit.blobs.moments and calculates the orientation of each blob’s main axis. However, unlike cv.jit.blobs.orientation, it takes into account symmetry. This means that cv.jit.blobs.direction can tell which direction a connected component is pointing.
Like cv.jit.blobs.orientation, the output is in radians by default and can be changed to degrees with the “mode” attribute. The output is between 0 and 2Pi.
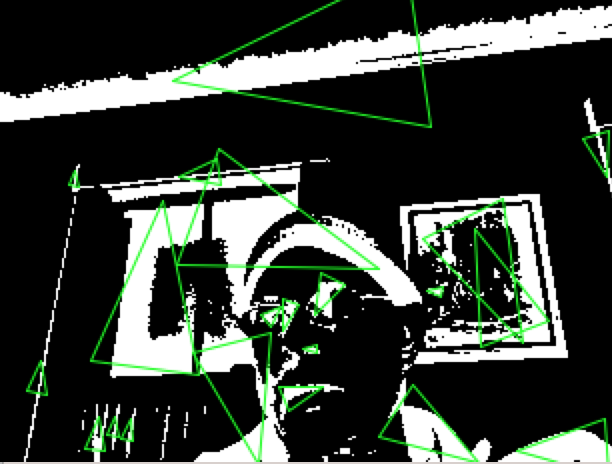
cv.jit.blobs.moments functions much like cv.jit.moments but computes moments and invariants for every blob identified by cv.jit.label. See cv.jit.moments for a discussion on moments and invariants.
The output is a 17-plane, single-row float32 matrix. The number of cells is the same as the number of connected components.
The output of cv.jit.moments can be fed to other objects for further analysis. See cv.jit.blobs.orientation, cv.jit.blobs.direction, cv.jit.blobs.elongation, and cv.jit.blobs.recon.
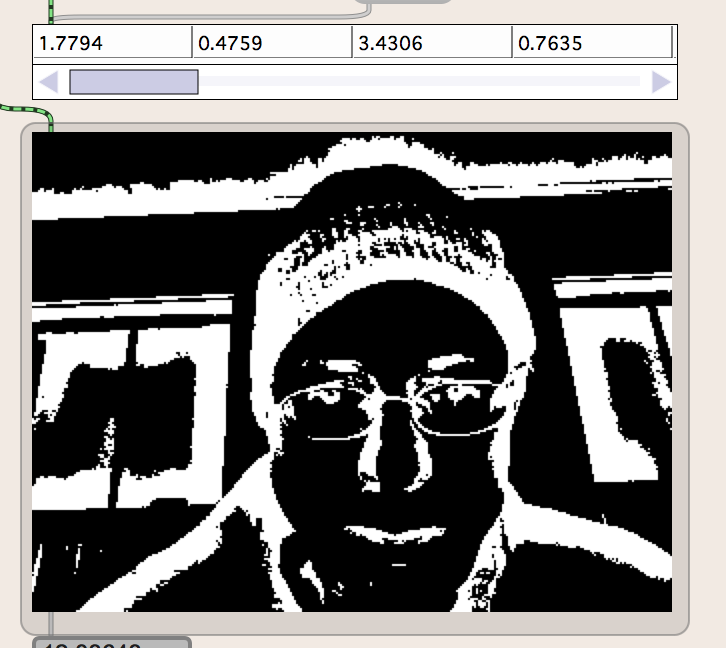
cv.jit.blobs.orientation functions much like cv.jit.orientation except that it takes for input the output of cv.jit.blobs.moments and calculates the orientation of the main axis of each connected component individually.
cv.jit.blobs.orientation outputs a single-row, 1-plane char matrix where the number of cells is the same as the number of labeled components.
Orientation is measured in radians by default but you can switch to degree output by specifying “mode 1”. The values are between 0. and Pi radians, with the extremes being horizontal and Pi/2 vertical.
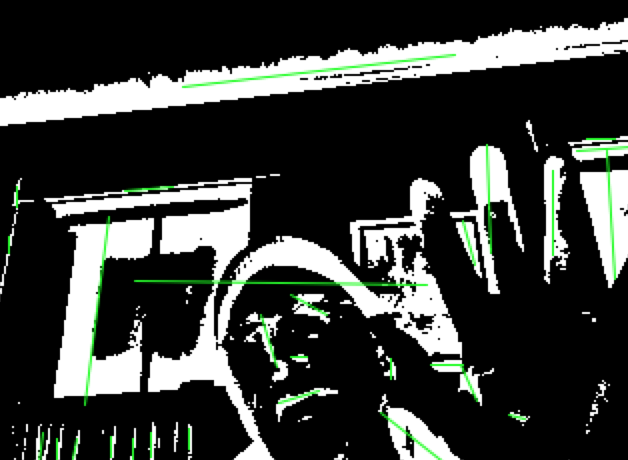
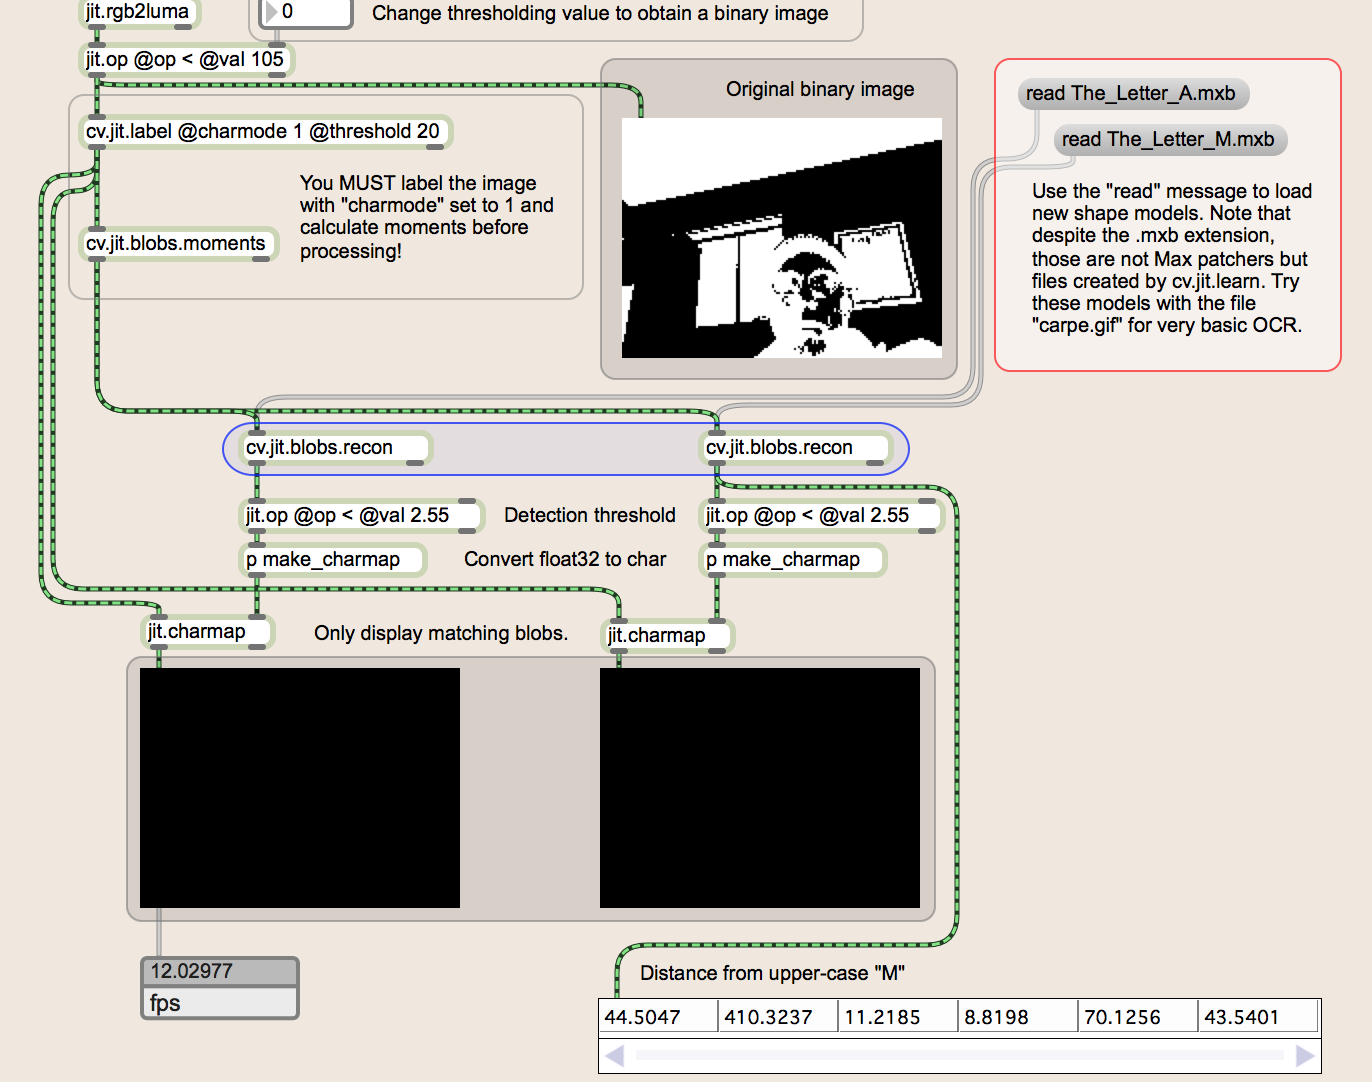
cv.jit.blobs.recon calculates the statistical distance between blob shape descriptors and a pre-computed model. The model must be created using cv.jit.learn, and cv.jit.blobs.recon functions much like cv.jit.learn’s “compare” mode.
cv.jit.blobs.recon must be fed the output of cv.jit.blobs.moments. Use the “mode” attribute to set whether moments (0) or Hu invariants (1) are used. Make sure that this matches the data used to train the model.
The output is a 1-plane float32 matrix, in which each cell contains the statistical distance between the corresponding blob and the model.. The lower the output value, the more similar the blob’s shape is to the model.
Circuit design by Ray Ring
The audio is playing through headphones here, so you can’t hear the excellent signal quality
I didn’t have the OpAmp called for in the circuit, so I built this audio amplifier designed by Dean Segovis: http://hackaweek.com/hacks/?p=131
The antenna was a piece of wire about 30 feet long.
An air variable capacitor was used for tuning.
More to come…
jit.bfg provides basis functions including various noise contours.
Here is yet another example co-opted from dude837 tutorial 30: https://www.youtube.com/watch?v=hoCpbxslvS8
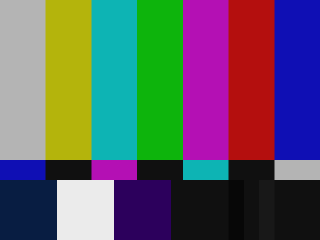
This is a set of color bars composited with a noise gradient.
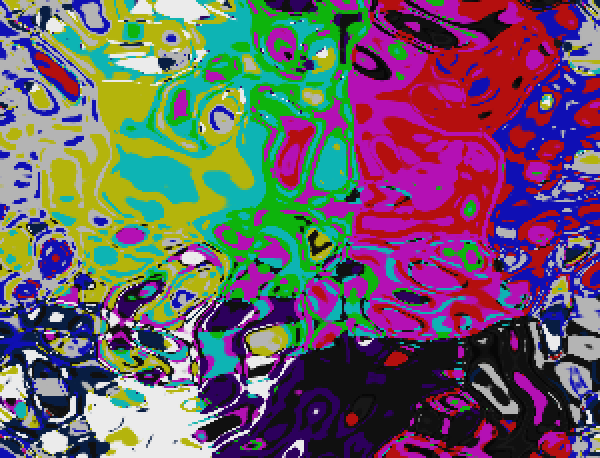
Original components:
Colorbars
Noise gradient function
A few minor changes were made to the original patch, including addition of comments and presets.
https://github.com/tkzic/max-projects
folder: bfg
patch: dude837-tut30-tz.maxpat
From tutorial 21b by dude837
https://www.youtube.com/watch?v=COl3ft1PPNU
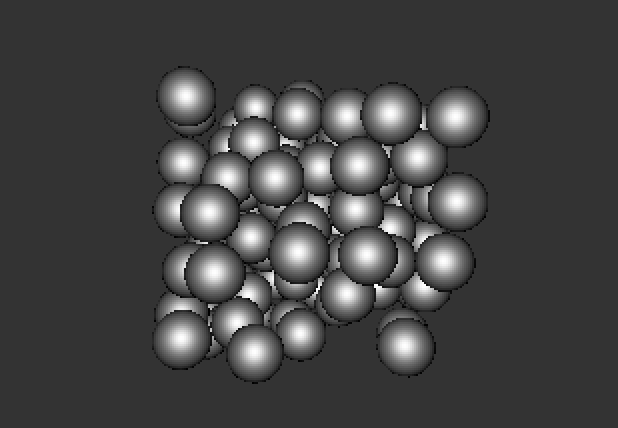
There was a problem with the spheres not returning to the resting position. They were constantly expanded outward. By removing the frame rate trigger from qmetro, and triggering only when audio data is received, the response was improved. You can also set signal amplitude going into the bonk~ object.

https://github.com/tkzic/max-projects
Folder: physics
Project: bumper-phsyics
External objects: bonk~ from: http://vud.org/max/
Design a synthesizer is Max – Part 2
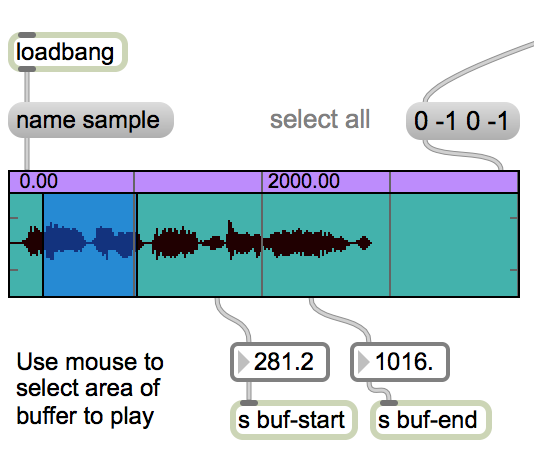
The hi object: for reading human interface devices (like game controllers. Use the code in the Max help file to get started.
Boids sonification: https://reactivemusic.net/?p=18388
Random walk sonification: https://reactivemusic.net/?p=18455
How would you design a patch to automatically select (trim) a sound from a buffer that contained silence and background noise as well as music?
How do you use wireless controllers, like a wiimote, with Max?
Demonstrate M4L devices in class next week.
Yet another Basic synthesizer design
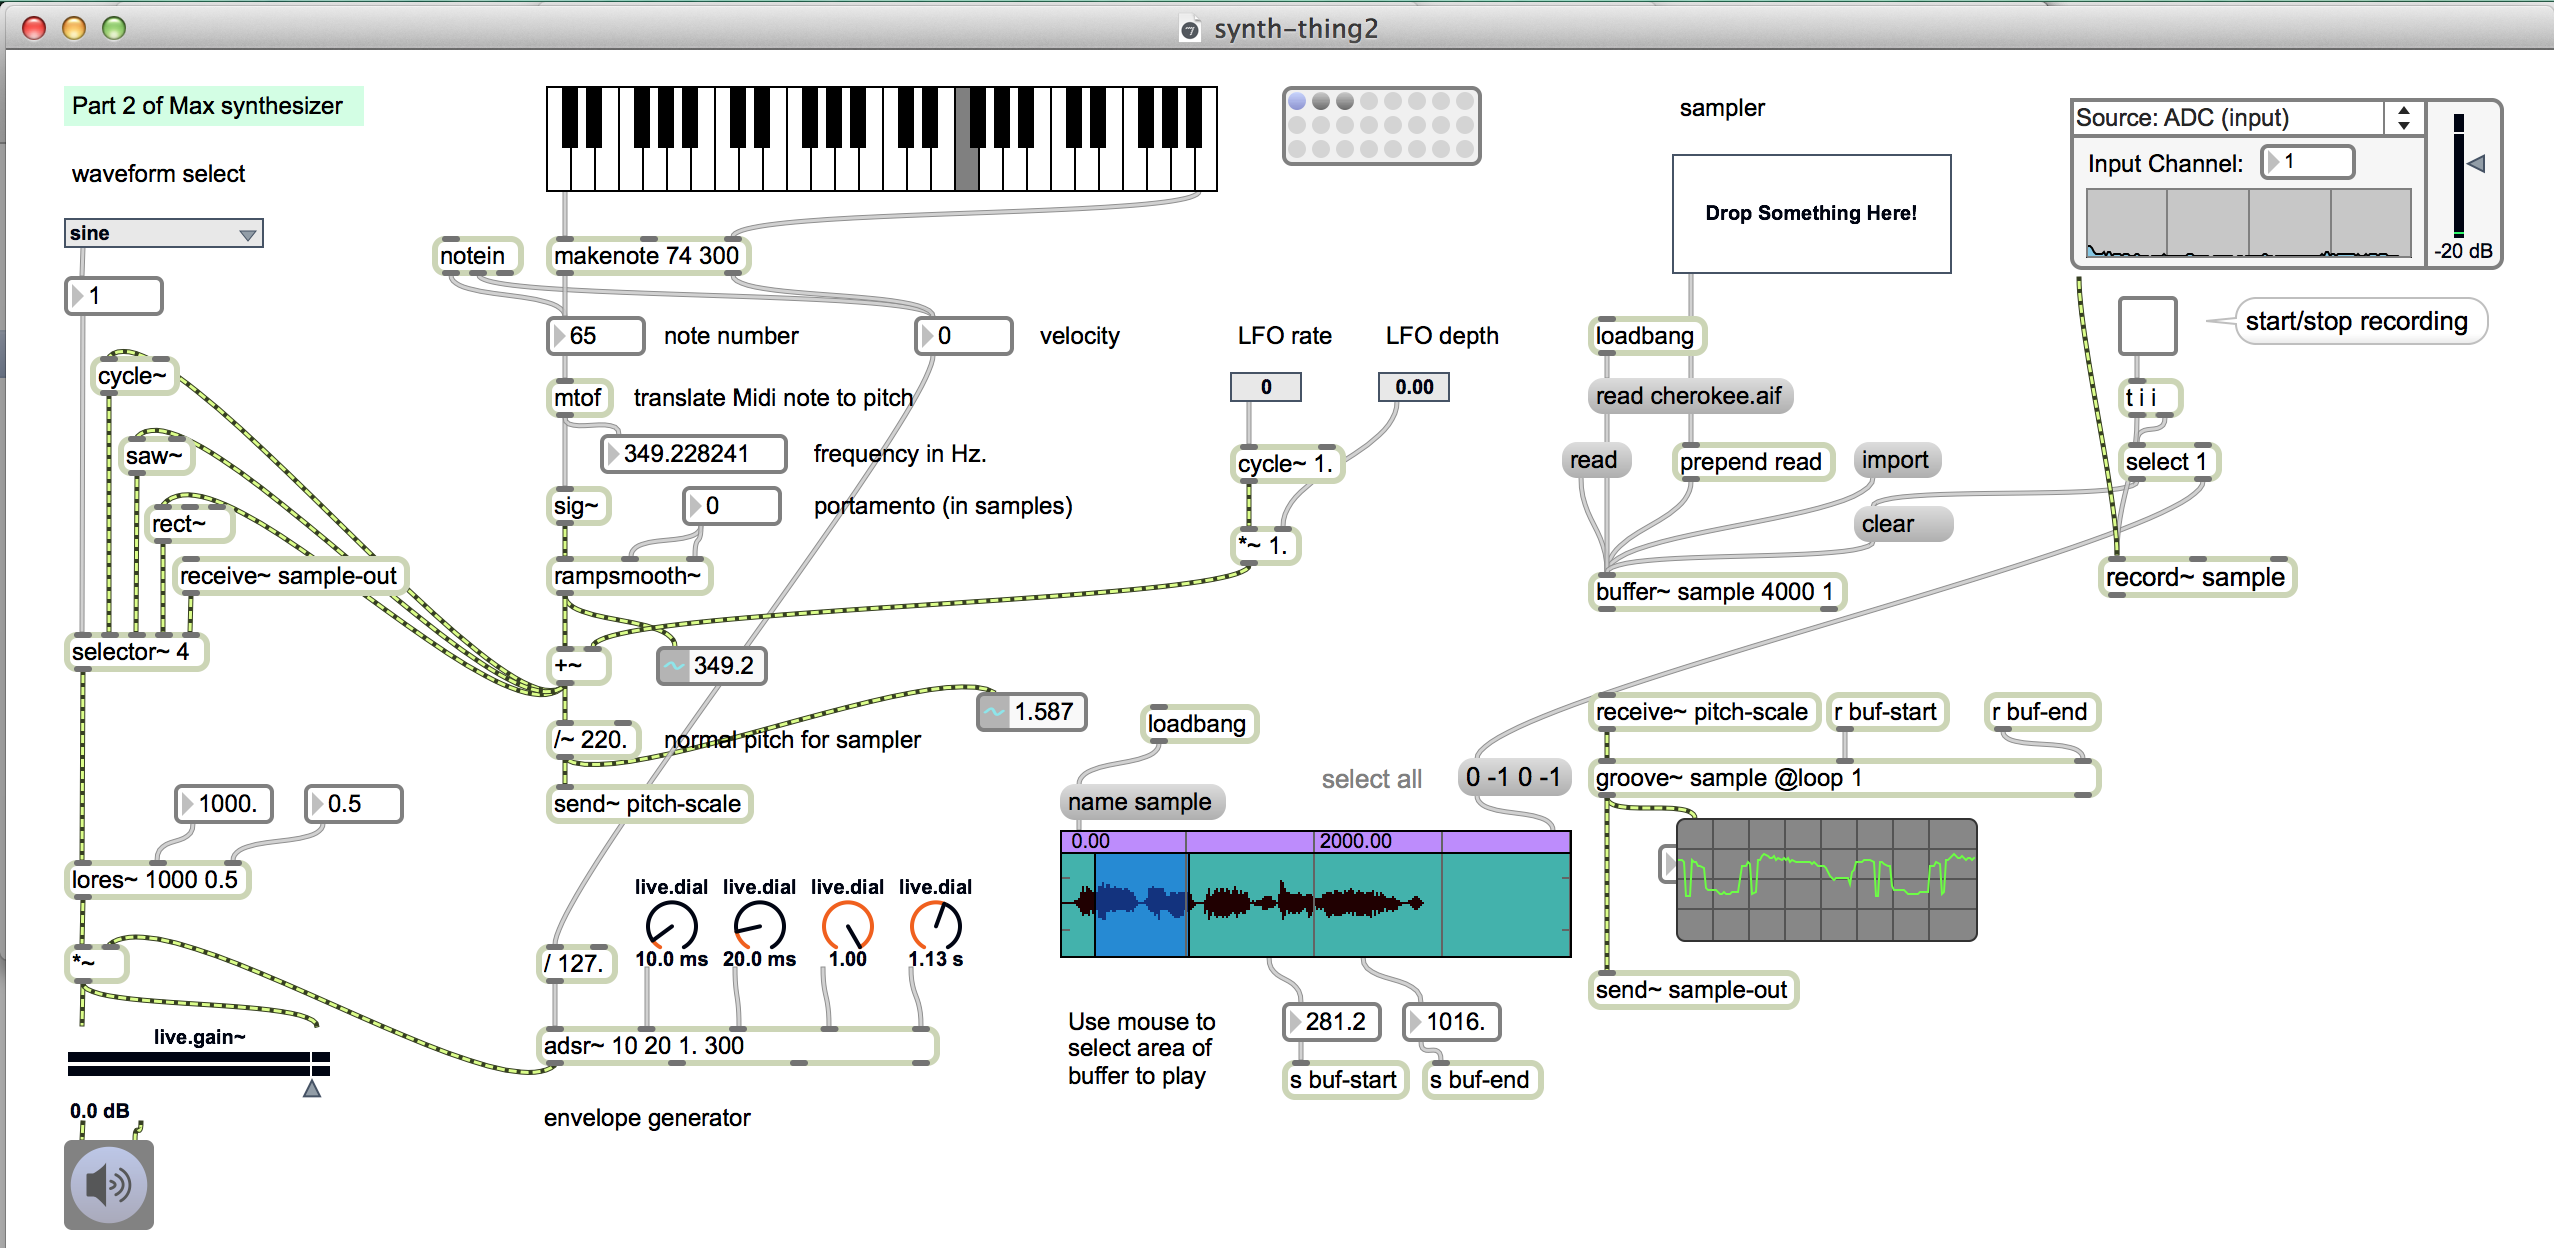
See part 1 here: https://reactivemusic.net/?p=18511
waveform~ object
record~ object.
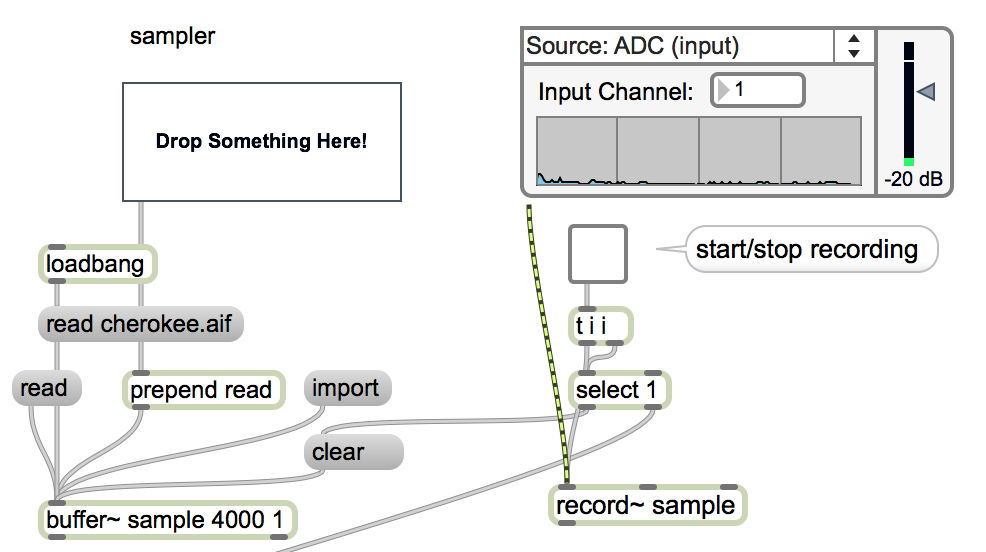
How to design voice activated recording?
groove~ (Max 7 only)
M4L preset management: https://reactivemusic.net/?p=18557
poly~ object
https://reactivemusic.net/?p=11732
local: poly-generic-example1.maxpat (polyphonic)
Wave~ sample player: https://reactivemusic.net/?p=18354
local: m4l: poly-synth1.als (aaa-polysynth2.amxd)
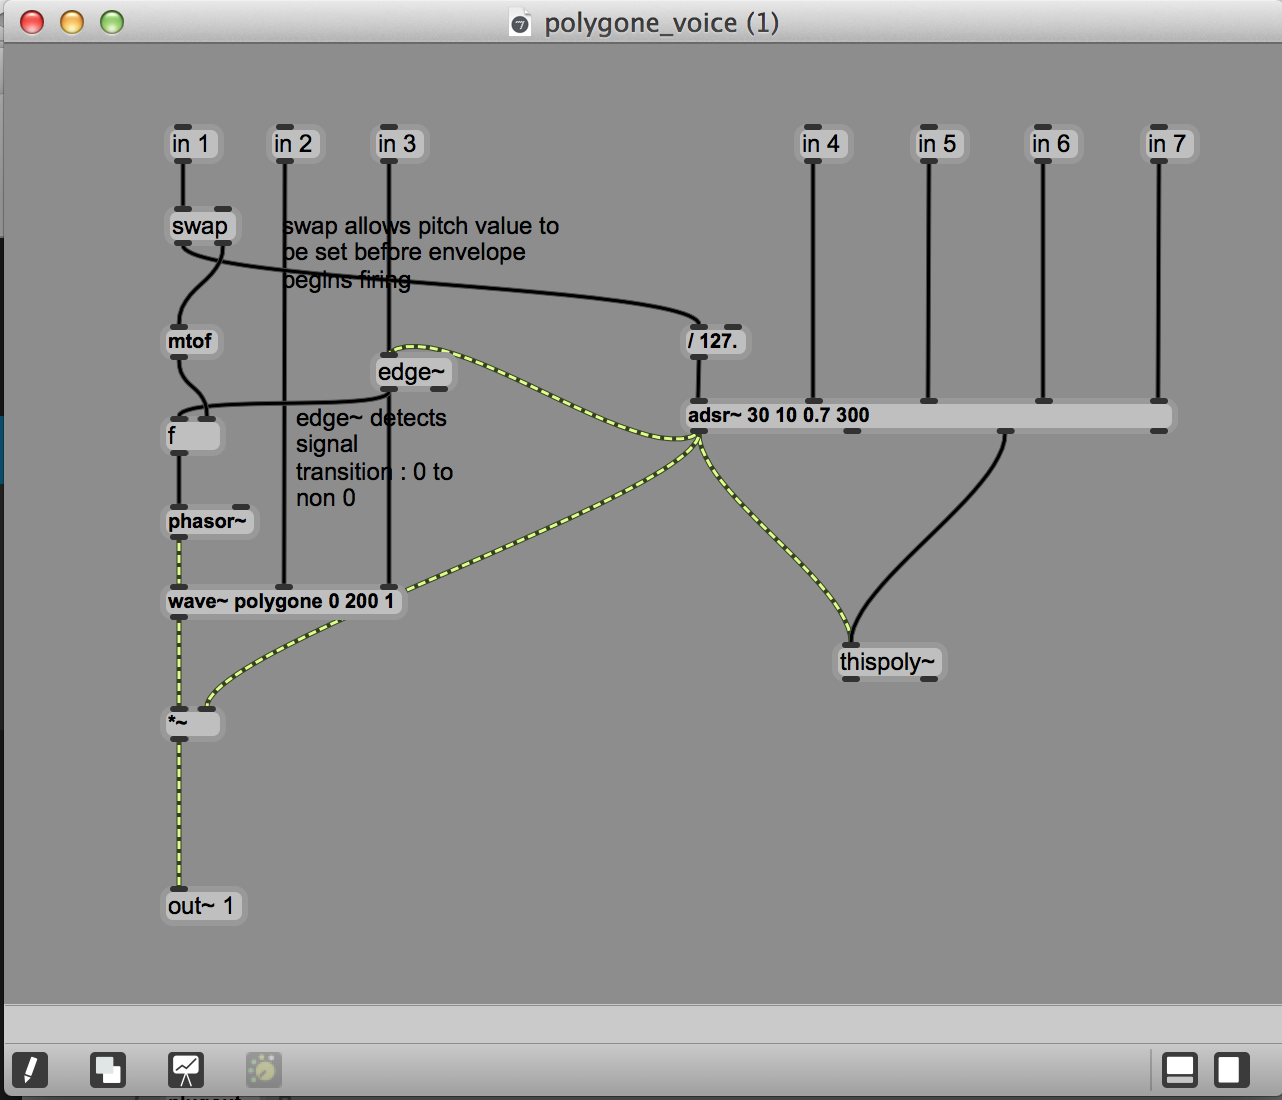
automation and UI design (review)
Distributing M4L devices
How to create a Live ‘Pack’
by Winksound