Updates to audiograph for iOS 6

notes

Today I’m attempting to update audiograph to run under the current iOS/xcode releases. Here are some helpful solutions to resolving compilation errors and warnings…

(update) Had problems with git, because I forgot to pull the changes from Michael Tyson, down from github before I made changes to the files locally and committed them.

Ended up doing a wholesale copy and a lot of duplicated effort – anyway it seems to work now.

Very important: The current local version of audiograph is in tkzic/coreaudio/audiograph

I have also submitted a new version 1.1 to app store. but its in the same folder I just mentioned.

runtime view controller error:
<code>'A view can only be associated with at most one view controller at a time!</code>

http://stackoverflow.com/questions/12434937/uiviewcontrollerhierarchyinconsistency-when-trying-to-present-a-modal-view-contr

group table view default color warning:

http://stackoverflow.com/questions/12539861/group-table-view-background-color-is-deprecated-in-ios-6-0

deprecated AvAudioSession methods (iOS 6.0)

I commented these out and added the updated methods

see this link for setDelegate

http://stackoverflow.com/questions/13078901/cocos2d-2-1-delegate-deprecated-in-ios-6-how-do-i-set-the-delegate-for-this

miscellaneous

http://developer.apple.com/library/ios/#documentation/AVFoundation/Reference/AVAudioSession_ClassReference/DeprecationAppendix/AppendixADeprecatedAPI.html

see Apple docs for everything else

The ‘play’ button on the bottom toolbar didn’t work on the 5g ipod touch (with taller screen)

Here’s what fixed it (in applicationDidFinishLaunching…)

from this stack overflow post: http://stackoverflow.com/questions/12395200/how-to-develop-or-migrate-apps-for-iphone-5-screen-resolution

The only really required thing to do is to add a launch image named “[email protected]” to the app resources, and in general case (if you’re lucky enough) the app will work correctly.

In case the app does not handle touch events, then make sure that the key window has the proper size. The workaround is to set the proper frame:

<code>[window setFrame:[[UIScreen mainScreen] bounds]]</code>

There are other issues not related to screen size when migrating to iOS 6. Read iOS 6.0 Release Notesfor details.

Thoughts on API’s and Max

After looking at hundreds of API’s over past months – models begin to emerge:

  • Visualization: Looking at data by filtering, analysis, or factors defining movement.
  • Synthesis: producing  feeds from sources, in combination – fusion
  • Transcoding: changing one type of signal into another

Or some combination of all three.

The best tools for getting data in and out of Max:

  • curl (or variants in client libraries)
  • JSON
  • Osc
  • string parsing outside of Max
  • database tools (or data recorder in Max)
  • basic data filtering and scaling tools in Max
  • for complex networked systems: node.js


csoundapi~ in Pd

notes

A preliminary test before trying this in Raspberry-Pi, I used the general instructions for csound in pd from Victor Lazzarini found here:

http://booki.flossmanuals.net/csound/_draft/_v/1.0/csound-in-pd/

to get csound running in pd-extended in Mac OS.

Looks pretty straightforward – biggest question will be compiling the external if it doesn’t install via package manager.

local test files are in tkzic/rpi/pd/csound

Here’s something from Victor Lazzarini which shows csound running on R-Pi

http://csound.1045644.n5.nabble.com/csound-on-raspberry-pi-td5718623.html

Here is installation instructions from Richard Dobson

http://csound.1045644.n5.nabble.com/Raspberry-Pi-w-Csound-td5717410.html


Running http: requests from Max

notes
  1. How to separate the status return code  from the actual response data?

For jit.uldl-  status reports get sent out the right outlet and errors are reported in the Max window. However their doesn’t appear to be a way to get the http: status codes or other header data.

For curl, you can write the response (JSON for example) to a file. Then you can read the file using the [js] object and parse the JSON. If you are using [aka.shell] to run the curl command, the stdout and stderr can be routed from the object – for instance, into the Max window. The -v flag (verbose mode) causes curl to output a bunch of header data.


Raspberry-Pi RTTY beacon and streaming webcam – success

Update: 5/2014

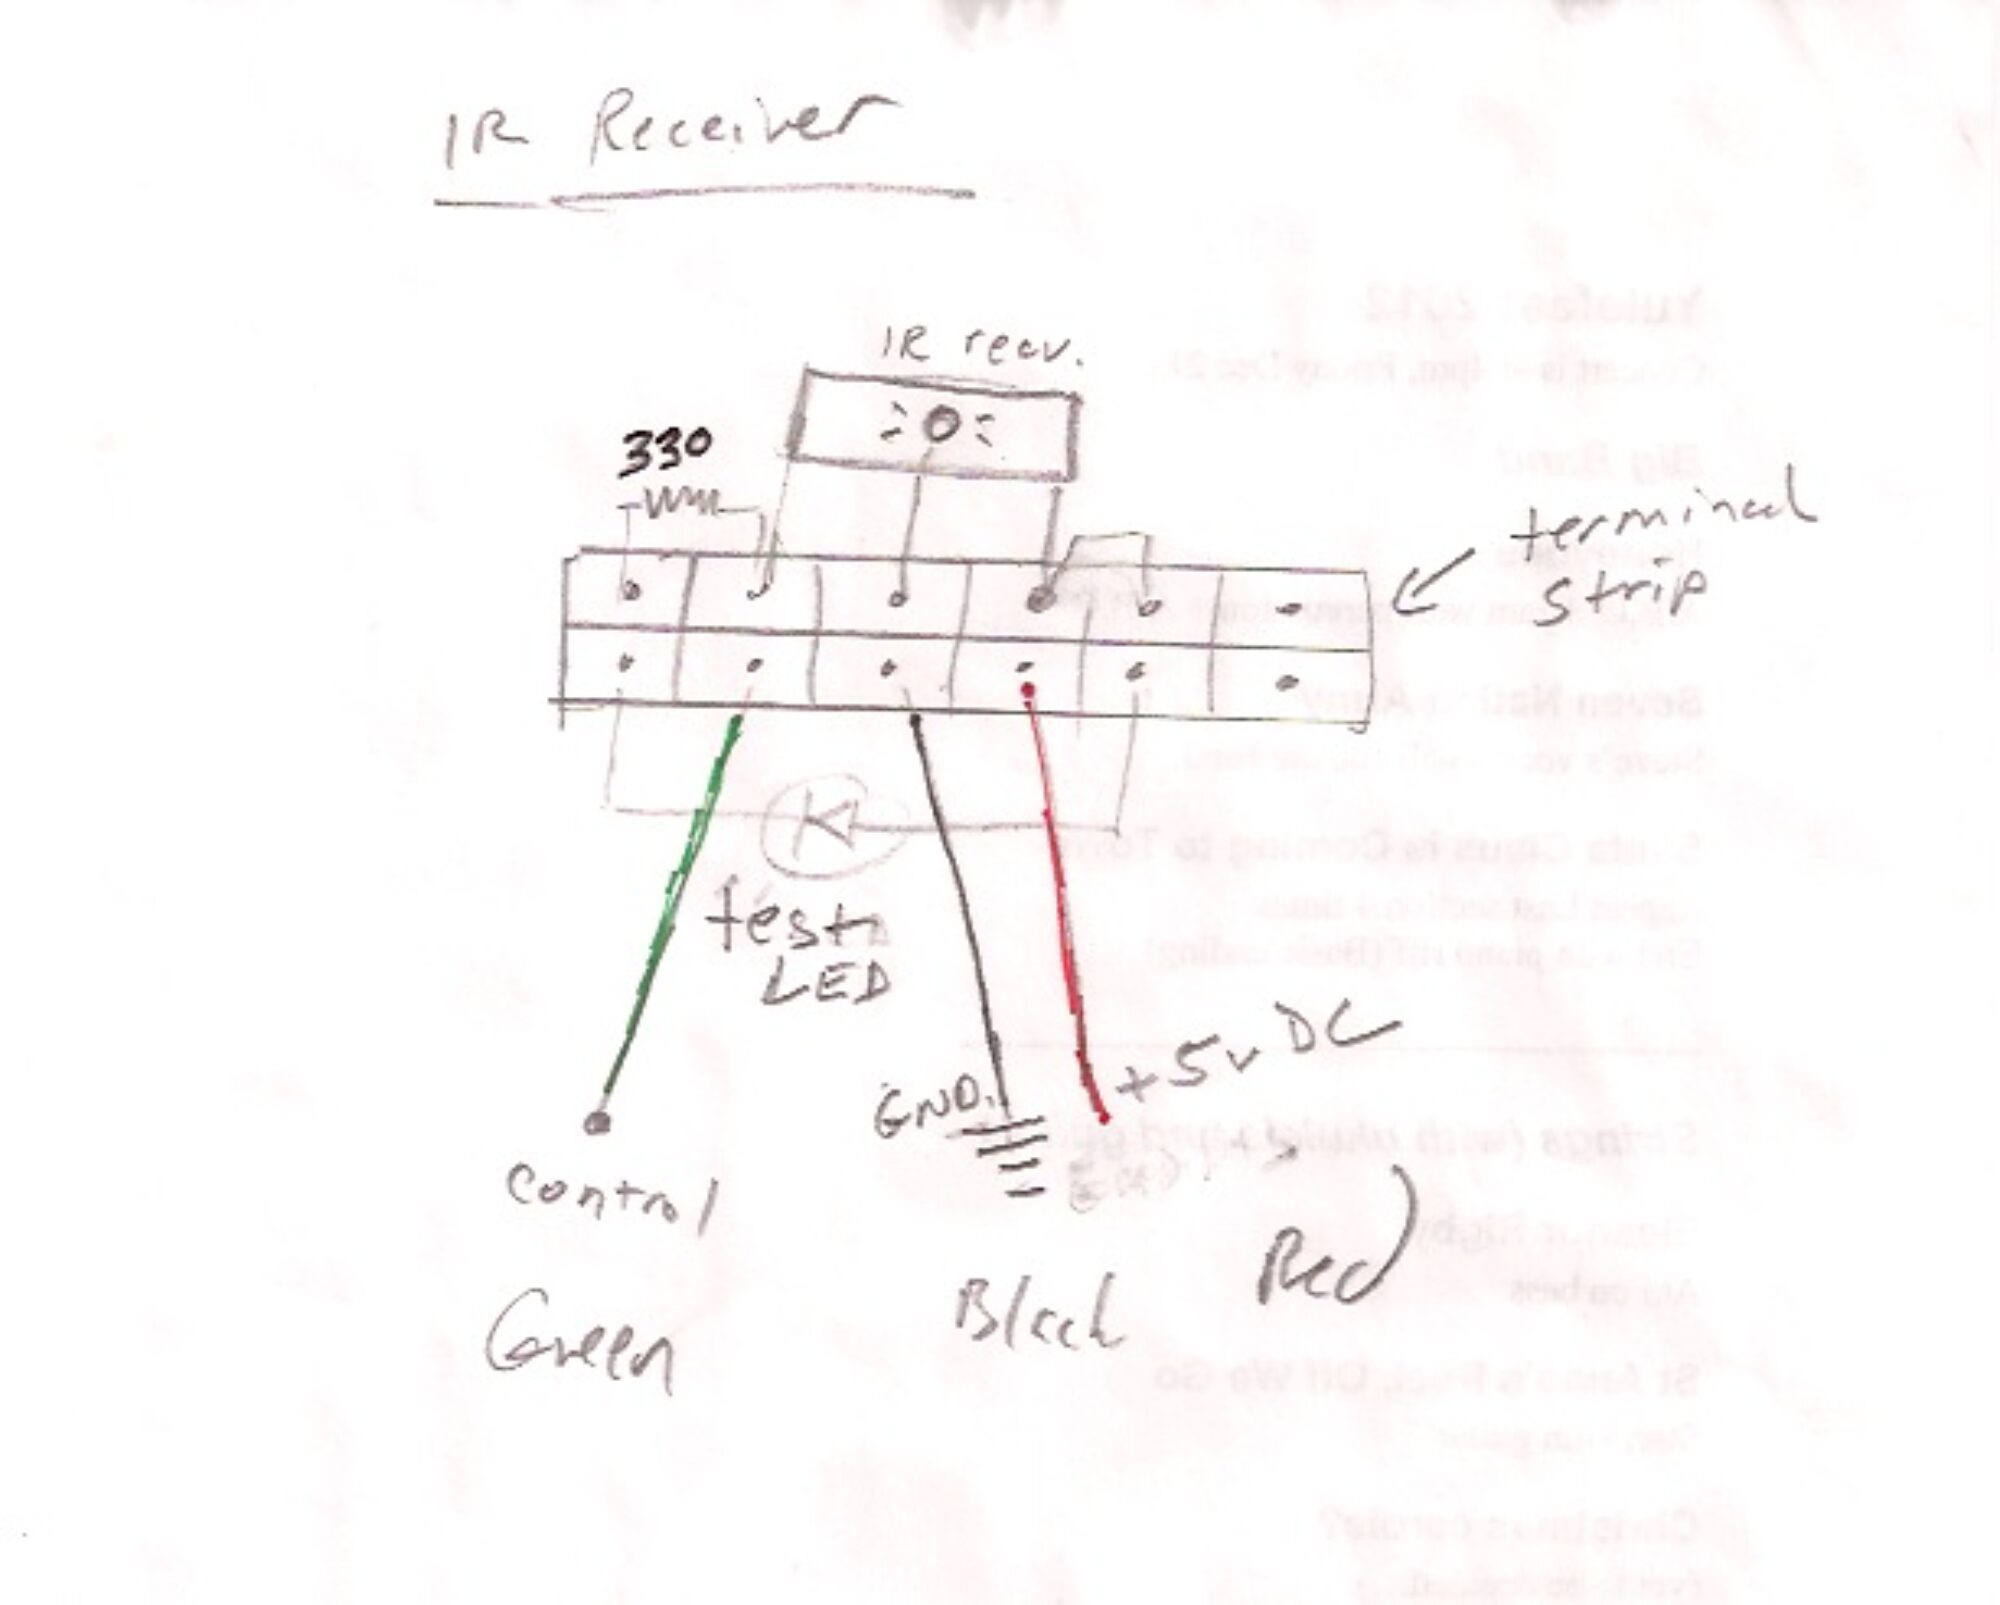
Retrying this experiment using the Arduino circuit described here: https://reactivemusic.net/?p=12161

notes
  • 300 baud
  • 300 Hz carrier shift
  • 8 bits
  • 2 stop
  • no parity
  • filter at 300 Hz
  • Normal mode (not reverse)
  • AFC on
There are 2 programs:
  • serial.c – sends a beacon then transmits a 640×480 picture
  • serial-beacon.c – just sends a beacon
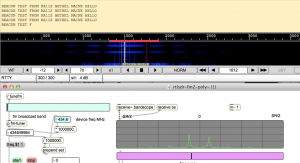
In order to view the picture as it comes in in dl-fldigi, you need to open up the SSDV RX window in the View menu.
The frequency is not very stable and occasionally you need to just restart dl-fldigi because the screen fills with trash characters.
Also, in Max, you need to tune on the right half of the picture.
Will be setting up a test with smaller photos


Success: Got an accurate beacon at 300 baud today and send a jpeg picture file , taken by a webcam connected to the R-Pi using fswebcam and SSDV.

http://www.slblabs.com/2012/09/26/rpi-webcam-stream/

Used the same circuit as the previous post about the Arduino RTTY beacon.

The difference is that we’re using a C program to write the text directly to the serial port which modulates the NTX2 transmit frequency.

Transmission can be stopped and started using the sleep() function but the timing is not exact.

Local code

tkzic/rpi/serial/serial1 –

  • using command line SSDV converter in tkzic/rpi/ssdv-master.
  • Using dl-fldigi to decode RTTY and SSDV pictures.
  • Using logictech c210 webcam – see link above for how to take a picture and save to file use fswebcam.


[Todo:]

  • Set up a shell script to take pictures and transmit regular intervals.
  • upload code and photos
  • Build some antennas
  • Field test
  • Buy a balloon


How to transfer SSDV images

notes

Here’s Dave Akerman’s explanation of how to write the code to get the Raspberry-Pi to send images via SSDV. It seems kind of impossible…

The usual technique with the NTX2 is to send the ’1′ and ’0′ values in RTTY by waggling a general purpose I/O pin up and down at the correct rate. e.g. every 20ms for the common 50 baud data rate. This is easy when you’re programming a bare-metal AVR or PIC – just use a delay routine or, as in my trackers, a timer interrupt. However the Pi runs a non-real-time operating system, so I could not rely on accurate timing especially if the operating system is busy taking a photo from the webcam. There are other options but I opted for the simplest one – connect the NTX2 to the serial port. RTTY is just normal RS232-style serial marks and spaces and stop bits etc., so why not let the hardware UART do the timing for me? It didn’t take long to write a small ‘C’ program that opened the serial port at 4800 baud, read enough GPS strings to find the longitude, latitude and altitude, then close the port and re-open at 300 baud (I found that switching baud rates without closing and opening wasn’t always reliable) to send out a formatted telemetry string. Of course to do this I had to disable the login prompt on the serial port, and stop the kernel debug messages being sent to it, but all in all it was simple. All of this was done using the standard Debian image on a 4GB SD card.

Now for the live images. I had to apply a patch to Debian after which it happily recognised the webcam as /dev/video0. I tried a few webcams and settled on the Logitech C270 which is reasonable quality, light and cheap (in case the payload goes missing!). I tried several webcam imaging programs and found fswebcam to be the best (worked without fiddling, yet had enough options to tailor the picture taking). Remember that the radio system has low bandwidth and with a typical flight lasting 2 hours or so we don’t have time to send large images, so there’s no point using the very best webcam and the highest resolution. I settled on 432 x 240 pixels with 50% compression as a good compromise between quality and download speed. I measured the webcam current and it went from 50mA at idle to 250mA peak when taking a picture, hence the need to short out the USB fuse (140mA max). A simple shell script took a photo every 30 seconds, saving them on the SD card so that the tracker program could choose the “best” image (largest jpeg!) for transmission. Each chosen image is then converted to the form for download (split into blocks each with FEC) before being sent 1 block at a time. I interspersed the image data with telemetry – 4 image packets for each telemetry packet). Here’s the Pi making a self-portrait:

Also this is very useful

Did you connect the Raspberry PI’s TXD output directly to the Radiometrix TXD line? Or did you use some kind of v3.3 to v5.0 level conversion hardware? If you did level conversion, can you share your design? I am planning to build an APRS transmitter using a cheap USB GPS and a Radiometrix HX1, and I am wondering how complex the connection between the Raspberry Pi and the HX1 needs to be.

  • dave says:

    Connected via some resistors to set the level and bias. This means that the low/high digital outputs from the Pi result in 2 slightly different voltages at the NTX2, which then transmits two frequencies approx 600Hz apart.

    This won’t work for APRS. For that you need an analog output, or PWM.

Balloon project

notes

Cost estimates rising. I think we’re looking at around $700 possibly more. The balloon, parachute, and helium costs are fixed. Need a source of helium. Might try the sun.

Tracking options:
  • Commercial service like Spot messenger GPS. $100 plus annual service fee of $150
  • Amateur RTTY + GPS – Have built a prototype using arduino. cost will be about $120 – but arduino can be used for many other purposes. Can be tracked by anyone with 70cm receiver. ie., all hams.
  • Amateur APRS – Allows worldwide automatic tracking via APRS network. Cost will run about $250 but provides the most extensive automated tracking network possible. Recommend using Byonics equipment for this.
  • Xbee 900mhz 9600 baud radios (from Sparkfun electronics) These radios provide accurate long range tracking, and interface easily with arduino. Down side is that nobody else can track the flight.
  • Emergency GPS tracker units. Like the ones that skiers use. Haven’t priced these but they would provide a way to find the payload long after it lands.
Sensors:

Recommended sensors would include temperature, pressure, altitude, light levels. These should be fairly inexpensive and can be connected to Arduino

Cameras:

Originally I had wanted to have some kind of live web cam thing, but it appears to require extremely high rate of radio transmission which means live tracking with a mobile unit that has a high gain antenna with programmable azimuth and elevation.

So… logistically, the easiest alternatives then involve the need to recover the payload. These include

  • ordinary camera which is triggered at regular time intervals
  • video camera which runs all the time
  • web cam hooked to a raspberry pi which saves data to SD card
  • web cam/ sd card combo controlled by arduino – more difficult.


Pd synth examples

notes

A collection of Pd synth patches that might run on Raspberry Pi.


Raspberry Pi with Pd: audio test

notes

In an audio pass-through test using Pd, with a USB sound card (Griffin iMic), the maximum stereo sample rate before ‘breakup’ is 32000.In mono, it sounds “ok” at 44100. Latency seems low enough to use for music but I’m too sleepy to figure out the numbers.

I don’t know enough about Linux audio to say if the performance deficit is due to ALSA drivers, the sound card, background processes, pd, the CPU, or what?Anyway I ‘m guessing R-Pi will spawn interesting synths and lo-fi FX processors. They’re cheap enough you could use them in parallel.

Prediction: They’ll double the speed, and sell a million more by the end of the year. We’ll see a range of ‘Pi’ clones which run the same Linux distributions, but offer various speeds and IO options. It feels like the democratization of manufacturing has taken another huge leap.