Midi and Osc Server for web apps in node.js
By Charlie Roberts
https://github.com/charlieroberts/interface.js
Local clone: /tkzic/interface.js
Midi and Osc Server for web apps in node.js
By Charlie Roberts
https://github.com/charlieroberts/interface.js
Local clone: /tkzic/interface.js
Draw points in Max by sending latitude and longitude to a Web client via Osc and web sockets.
Uses Ruby, WebSockets, Chrome, Google Maps API, Osc, Max, Jquery, and Node.js… But the Max patch is actually quite simple.
Based on this geocoding tutorial: http://www.sitepoint.com/google-maps-api-jquery/

https://github.com/tkzic/internet-sensors
folder: google-maps
To run the project locally, you will either need to install node.js or have a local web server. The instructions assume that you have installed node, as well as the http package.
If you don’t want to bother with node, there is also an online version of the web client running at http://zerokidz.com/gmap/markers/markers.html
Running Ruby 2.0 as well as the following gems:
1. If you are using the online Web client, go to this URL in a Google Chrome browser: http://zerokidz.com/gmap/markers/markers.html then skip to step 4.
2. In a terminal window start the node webserver
node nodeserver
3. Launch a Google Chrome web browser and type in this URL
127.0.0.1:8081/markers.html
4. In another terminal window start the ruby server for Osc and websockets
ruby mapserver.rb
5. Now in the Web Client (Chrome) press the “OSC” button underneath the map – to open the web sockets connection with the ruby server.
6. Open the Max patch:
googlemaptest.maxpat
7. Now you should be able to click on the message boxes for Bethel and Rumford in the Max patch to add location markers to the map in the browser.
This project uses Max/MSP to control and track a Parrot AR-drone quadcopter, using an intermediary server which runs the (open source) node-ar-drone in node.js. https://github.com/felixge/node-ar-drone

https://github.com/tkzic/internet-sensors
folder: ar-drone
Install node.js on your computer. Instructions here: http://nodejs.org
The following node packages are required. Install using npm. For example:
Also, install following packages for the ar-drone and video streaming:
For this experiment, we will be running everything on the same computer.
1. Connect your computer to the AR drone Wifi network. For example mine is: ardrone2_260592 – Note: after you do that, you will not be able to read this post on the internet.
2. Run both of the node programs in from terminal windows:
Since you are running Max control dashboard on the same computer as the server – you can call it without args, like this:
node drone5.js
Then from another terminal window start the video server:
node tz-dronestream-server/app-tz.js
3. In a Chrome web browser, type the following URL: (you can make multiple simultaneous connections to the video server) You should see the video from the AR-drone at in the browser.
127.0.0.1:5555
4. Load the following Max patch (control dashboard)
drone4.maxpat
5. In the Max patch, try clicking the /takeoff and /land messages in the Max patch.
To control the drone from Max, use [udpsend] [udpreceive] with ports 4000 and 4001 respectively. You can’t make multiple connections with OSC – also it would probably not be so cool while flying. but you can specify a target ip for telemetry when running the OSC server.
We will eventually publish a complete list of commands, but they are using the API from the ar-drone docs readme file – converted into OSC style. For example:
More notes on video…
You can capture the video stream into Max, by either capturing the chrome window using jitter, or by using syphon – but for demo purposes I have just run Chrome window side by side with Max control patch.
See this post for setting up Syphon in Max: https://reactivemusic.net/?p=8662
You may find it more practical to run the node.js server on a separate computer. If you do that you will need to
When testing this I set up a dual IP address on my Macbook with a static ip: 192.168.1.140 – so this would always be the server. I ended up getting rid of it because it caused problems with other software.
Here is a link to how to set up a dual IP address: https://reactivemusic.net/?p=6628
Here is the command you would use to specify a separate IP address when launching the server:
For example if your Max control program is on 192.168.1.104 and you want to run in outdoor mode – use this command:
node drone5.js 192.168.1.104 TRUE
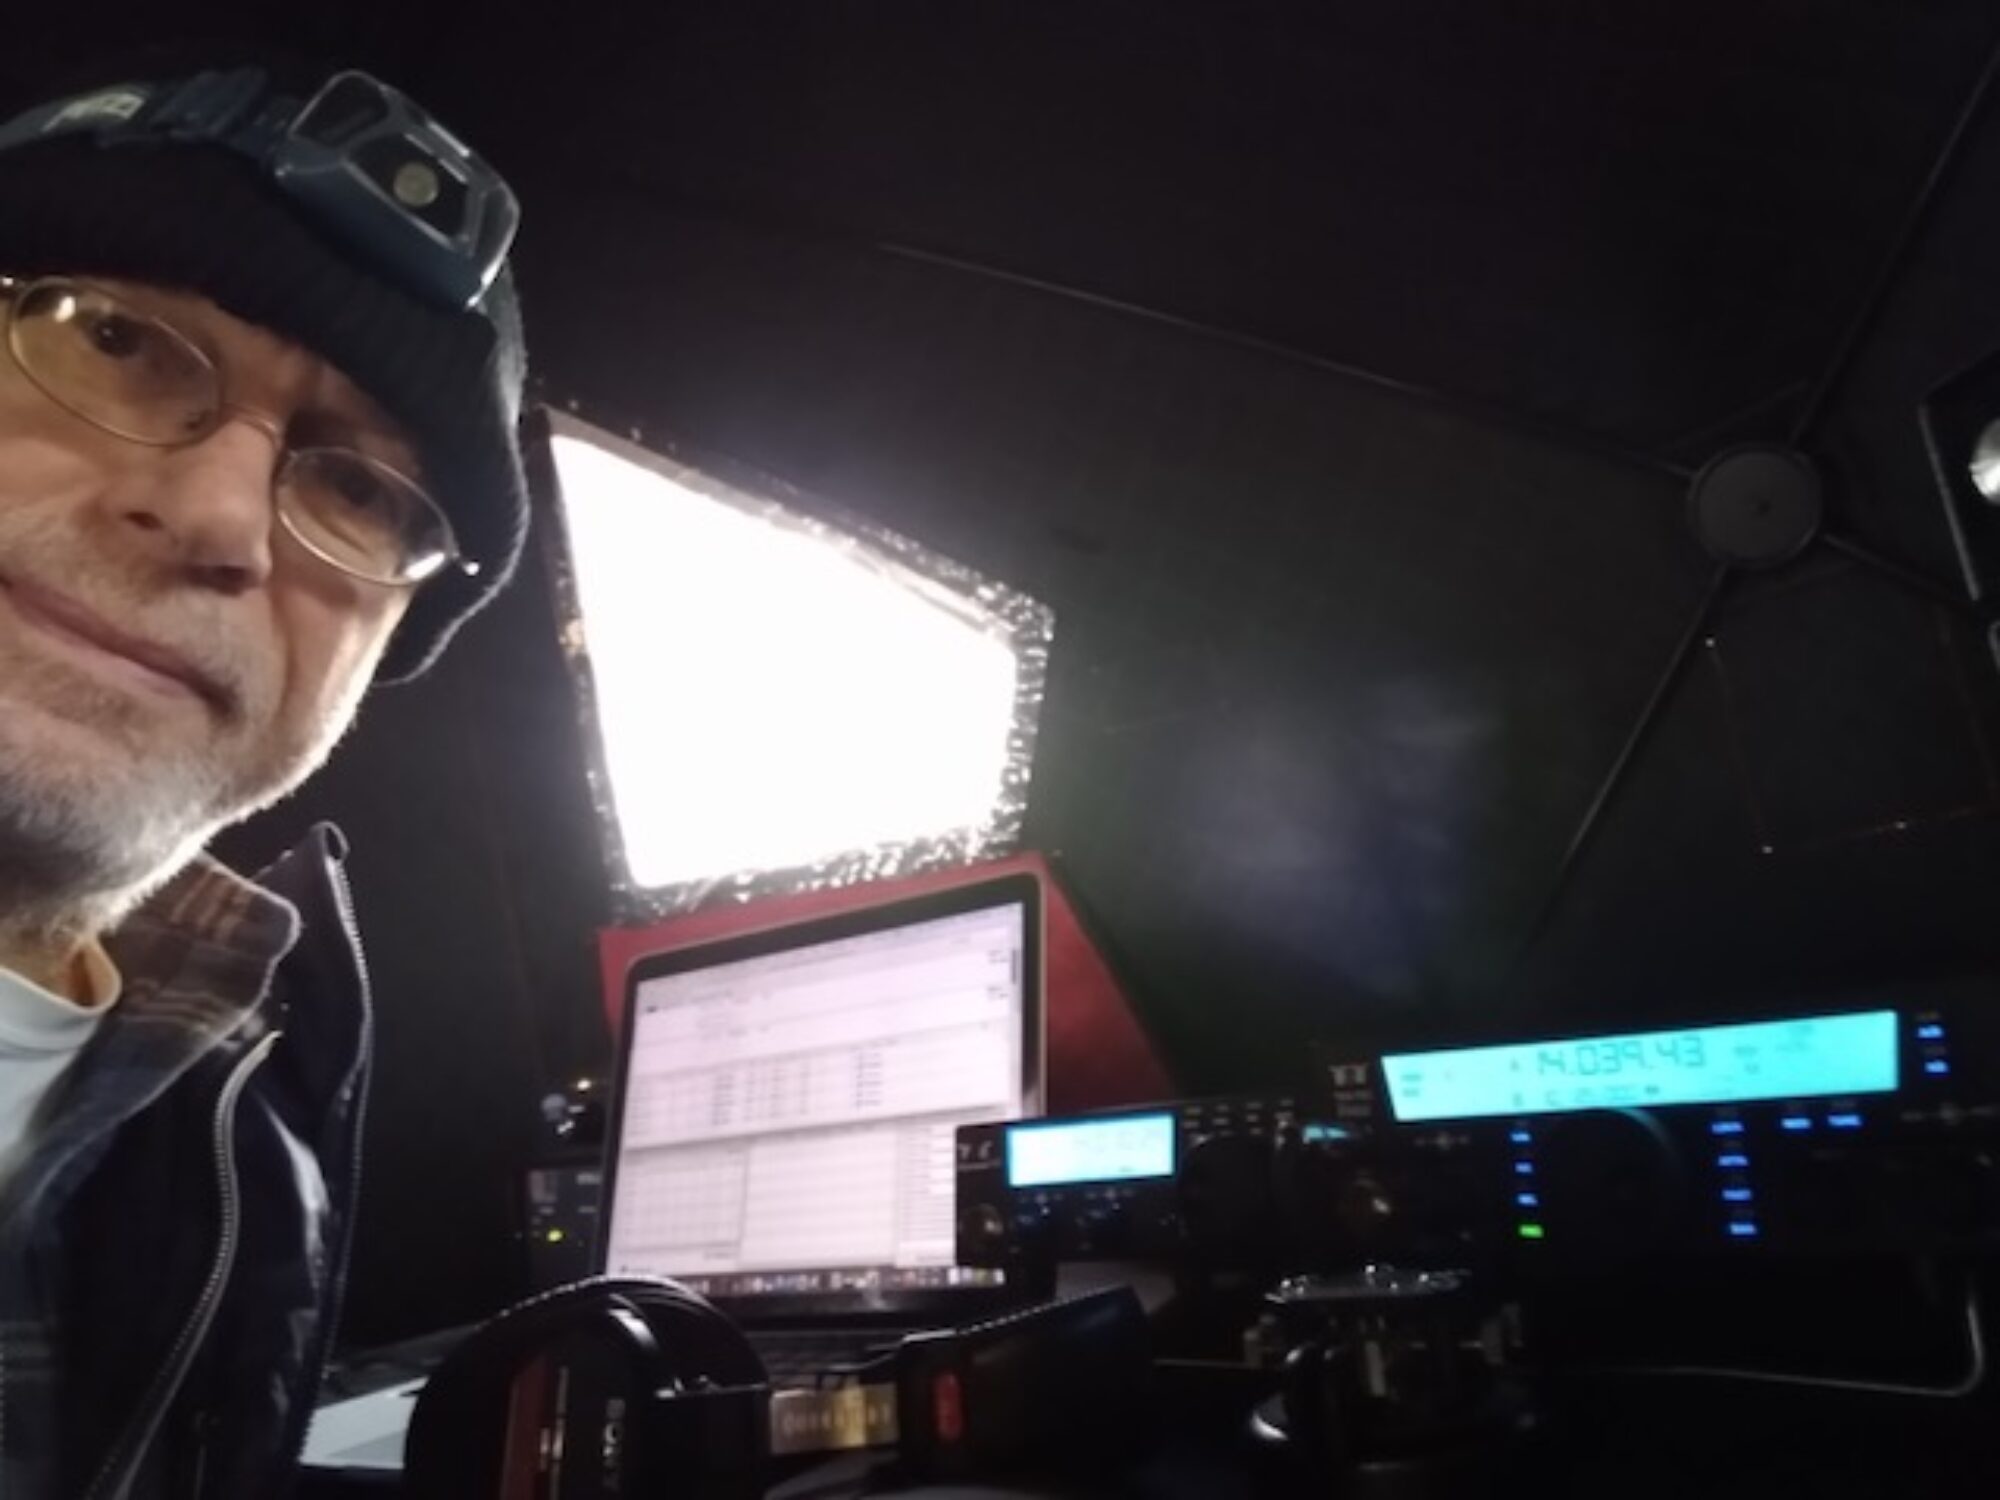
These students are just about to send the quadcopter into the air using control panels developed in Max. Ali’s control panel uses speech via the Google API. Her computer is connected to the Internet via wiFi and also connected to Chase’s computer via a Midi/USB link. Her voice commands get translated into Midi. Chase’s control panel reads the commands. Chase’s computer is on the same WiFi network as the quadcopter. Chase’s control panel sends commands to my computer which is running Max and the at-drone software in node.js. Occasionally this all works. But there is nobody to hold a camera.

We’re now running two node servers, one for Max and one for web video streaming – which can be accessed by other computers connected to the same LAN as the AR-drone.
We did have a mishap where Chase’s control panel sent an “/up” command to the quadcopter. Then his Macbook batter died as the quadcopter was rising into the sky. I managed to rewrite the server program, giving it a /land command – then restarted it. It was able to re-establish communication with the quadcopter and make it land.
Unfortunately we did not get video of this experiment but here are a few seconds of video showing the quadcopter taking off and landing under control of Max – while indoors.
5/2014: see latest version here: https://reactivemusic.net/?p=6635
update – Got the drone today and ran successful test of takeoff, rotate, and land. Next thing to check out is how to get the drone on an existing wifi network…
http://nodecopter.com/guides/connect_to_access_point
To work with a WPA network requires installing a patch to the drone. https://github.com/daraosn/ardrone-wpa2
One workaround for school networks would be to use 2 computers, one for the interenet – one for the drone – and then connect them with midi or something.
This is a work in progress. Going to use the node.js code from the Irish train project for the OSC communication with Max.
First, install ar-drone
$ npm install ar-drone
Here’s the generic Max <=> node.js code using OSC. It handles OSC commands bidirectionally.
Here’s the initial drone testing code
http://drones.johnback.us/blog/2013/01/28/writing-your-first-ar-drone-plus-nodejs-program/
For prototyping web apps on Mac OS, for example.
By César Pinto Castillo
https://github.com/JagCesar/Really-simple-web-server-Node-JS

A series of projects that use Internet API’s for interactive media projects.
updated 2/14/2021.
Projects have been tested on Max8 and Mac OS Catalina – except where noted. Other dependencies are are listed on individual project pages.
My goal is to show a variety of methods to get data to and from Max. API’s come and go, as do the libraries that support them.
internet-sensors is on Github at: https://github.com/tkzic/internet-sensors
Each project is in a separate folder.
Some projects require passwords and API-keys from providers.
For example, for the ‘Twitter streaming API in Max’ project you’ll need to set up a Twitter application from your account to get authorization credentials.
For projects that need authorization usually you’ll just need to modify the patches/source code with your user information – as directed in the instructions. The API keys embedded in the code will not work unless specifically mentioned, like with the Google speech API.
API’s used in the projects change fairly often. So there’s no guarantee they’ll work. If you find problems or have ideas – please post to them to the github repository. Or email me at [email protected].
1. Twitter streaming API in Max (FM, php, curl, geocoding, [aka.speech], Soundflower (optional), Morse code, OSC, data recorder, Twitter v1.1 API, Twitter Apps, Oauth)
https://reactivemusic.net/?p=5786

2. Sending tweets from Max using curl ([sprintf], [aka.shell], xively.com API, zapier.com API, JSON, javascript Twitter v1.1 API, Oauth)
deprecated 2/11/2021 – old project link here: https://reactivemusic.net/?p=5447

New! – use the project above to send tweets from using a Fisher Price “Little Tikes” piano: https://reactivemusic.net/?p=6993

4. Speech to text in Max (Google speech API, JSON, javascript, sox, Twitter v1.1 API, Oauth)
Note: Send Tweets using speech as well.
https://reactivemusic.net/?p=4690

5. A conversation with a robot in Max (Google speech API, sox, JSON, pandorabots API, python, [aka.speech]
https://reactivemusic.net/?p=9834

7. Playing bird calls in Max (xeno-canto API, [jit.uldl], [jit.qt.movie])
https://reactivemusic.net/?p=4225

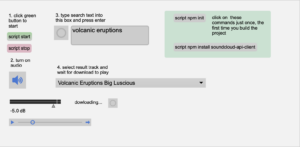
8. Soundcloud API in Max (node.js)
https://reactivemusic.net/?p=20120
9. Real time train map using Max and node.js (XML, JSON, OSC, data recorder, web sockets, Irish Rail API)
https://reactivemusic.net/?p=5477

10. stock market music in Max (OSC, netcat, php, mysql, html, javascript, Yahoo API, linux)
…updates in progress…
https://reactivemusic.net/?p=12029

11. Using weather forecast data to drive weather sounds in Pure Data (ruby, OSC, JSON, openweathermap API, “Designing Sound” by Andy Farnell)
https://reactivemusic.net/?p=5846
… updates in progress…

12. Using ping times to control oscilators in Max (Mashape ping-uin API, ruby, OSC, JSON)
https://reactivemusic.net/?p=5945

13. Spotify Segment analysis player – sonification of audio analysis data from Spotify (echo nest) API, node, Max/MSP)
https://reactivemusic.net/?p=20096
14. Quadcopter AR_drone – Fly a quadcopter using Max – with streaming Web video. ( node.js, AR_drone, Google Chrome, Osc, Max/MSP)
deprecated 2/14/2021 – old project link: https://reactivemusic.net/?p=6635

15. Adding markers to Google Maps in Max – ( node.js, ruby, Google Chrome, Osc, Max/MSP, websockets, Google Maps API, Jquery, javascript)
deprecated 2/14/2021 – old project link: https://reactivemusic.net/?p=11412

16. Max data recorder – Record and play back streams of data simultaneously at various rates
https://reactivemusic.net/?p=8053

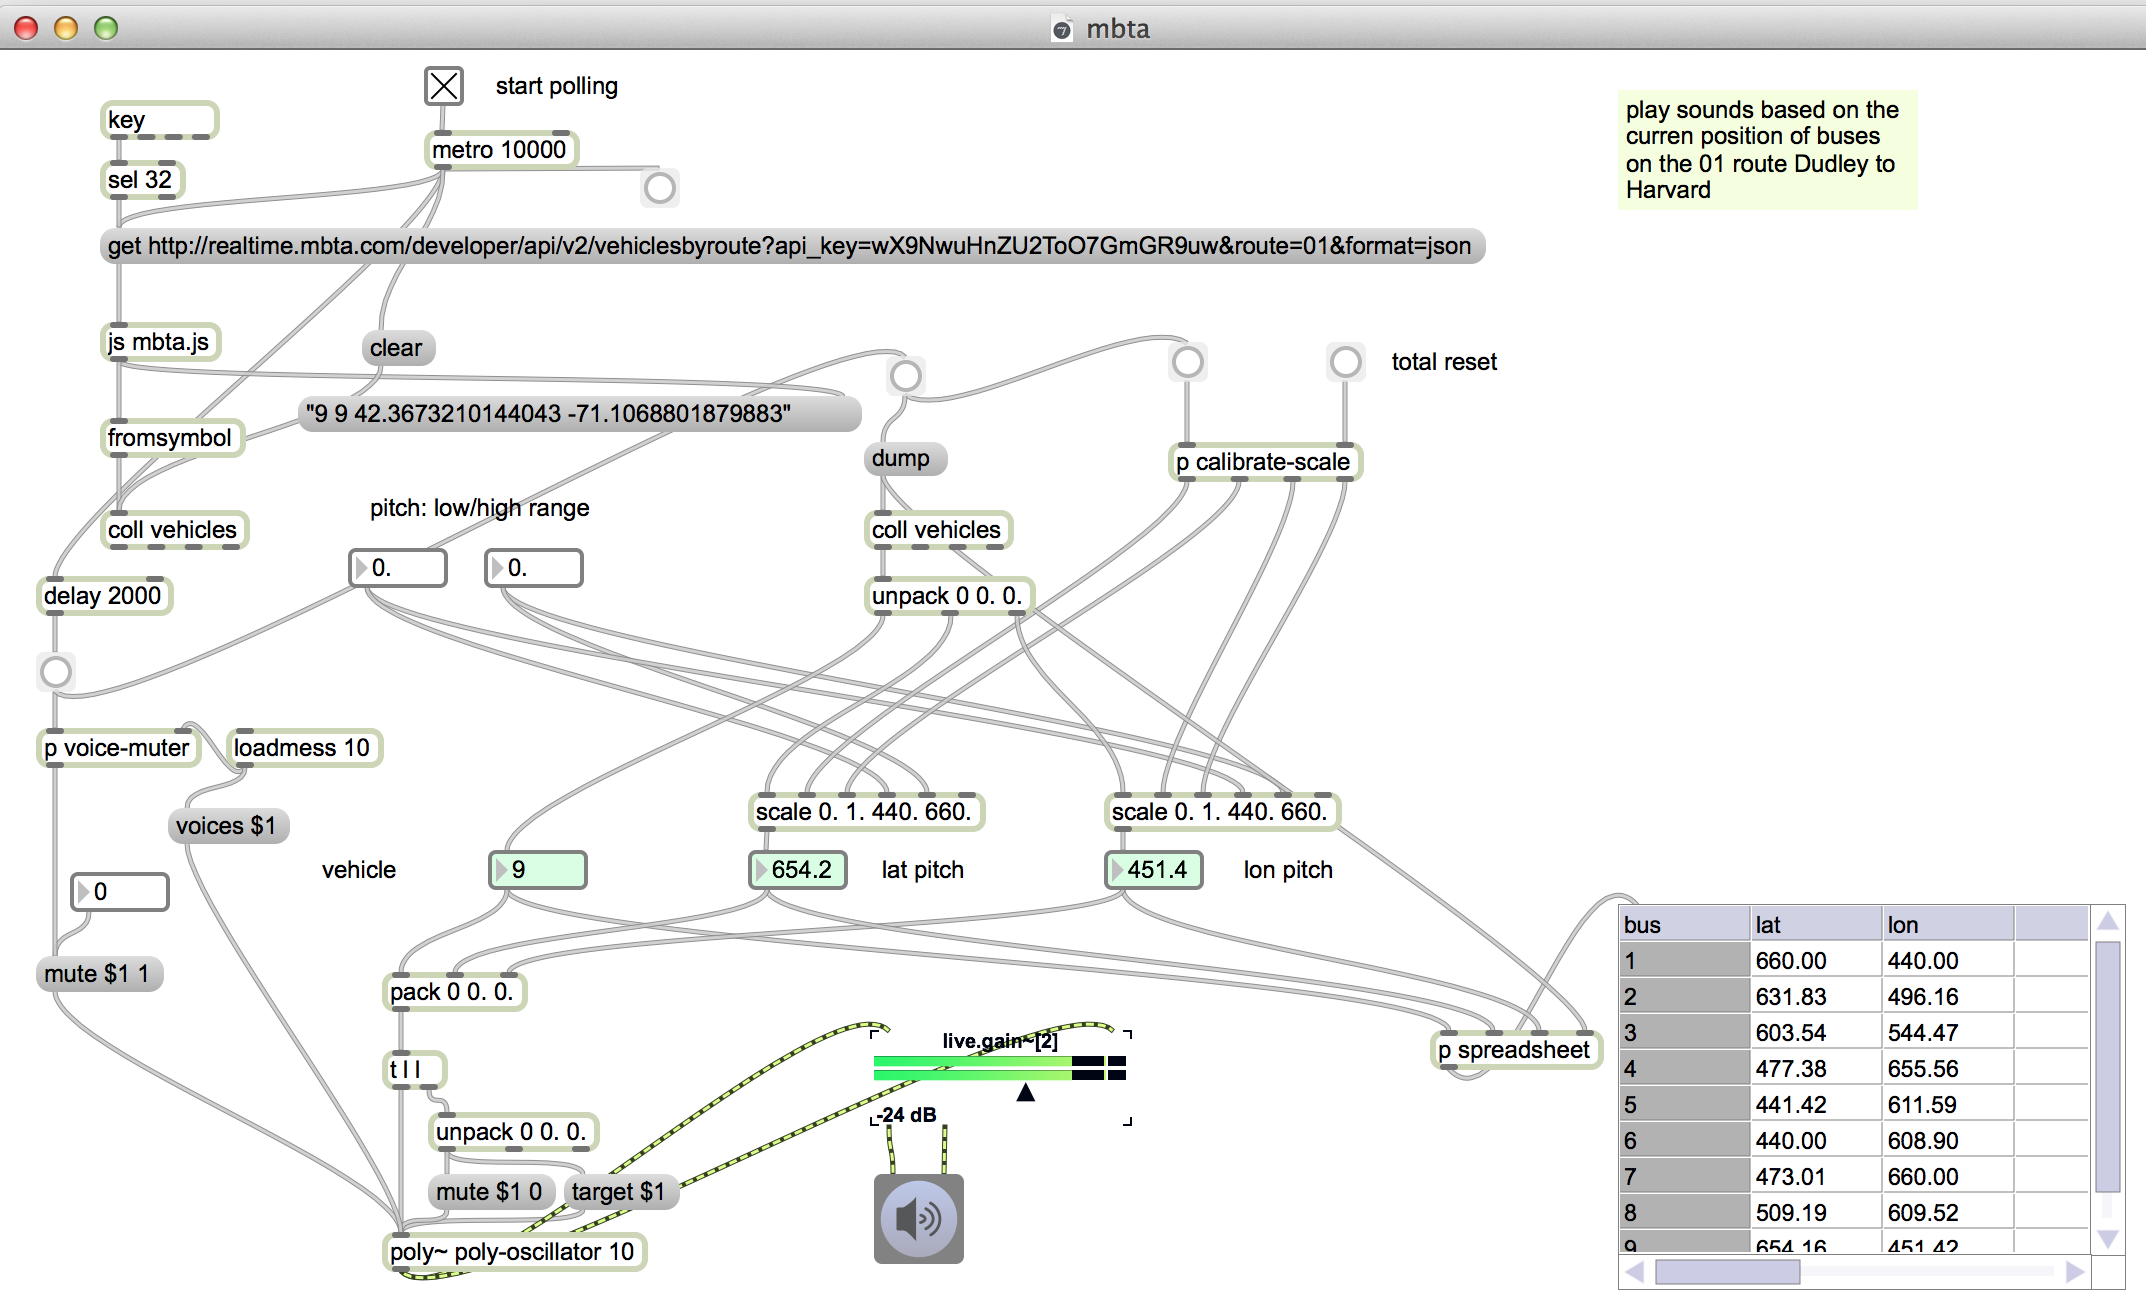
17. MBTA bus data in Max – Sonification of Mass Ave buses, from Harvard to Dudley
… updates in progress…
https://reactivemusic.net/?p=17524
node wrapper for curl
by jiangmiao
https://npmjs.org/package/node-curl
How to run curl from the shell in node.js: http://query7.com/nodejs-curl-tutorial
Using node.js
Time compressed video of Irish railway data from November 30th 2012.
After many years…. I was able to get this running
Also using sample webSockets code from here to handle the map points: https://masteringjs.io/tutorials/node/websockets
I would like to update all of this in node for max – but its also nice to have an example of doing OSC communication with Max the old way.
This map is centered on Dublin. Each train is a different color and the train number gets printed next to the current position. So for example you can see P607 coming into Dublin from the South.
It gets updates every 10 seconds or so – but sometimes the trains seem to ‘jump’ so I don’t think the actual data itself gets updated that fast.
https://github.com/tkzic/internet-sensors
folder: trains
Install node.js on your computer (or a separate server). Instructions here: http://nodejs.org
In a terminal window go to the project folder ie., /internetsensors/trains
type: npm init
(just accept all the default values)
The following node packages are required. Install using npm. For example:
type: npm install request
Do the same with all these packages
These instructions are a bit confusing. A simpler UI is in the works. (that’s funny – I said it 8 years ago)
node ./max-train1.js
When you connect to the node server in a web browser, for example using the following url:
http://localhost:8124
You will get a message welcoming you and asking you to enter your name. After you enter your name, Max will send you a response. Then you can enter map points using the following format:
Dublin 53.15 -6.90
The map point will be drawn on the map in the Max patch.
Data communication is done with OSC messages. Here’s how
Here’s what the raw data looks like:
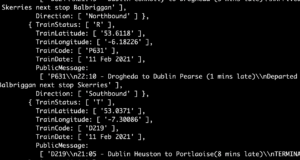
Note: if there’s no data at this link, check the time of day. Trains stop running around midnight UTC.
Essentially what this program does is collect current train position data from Ireland and display it as points on an XY grid.
components:
The server is written in node.js. This was my first real project using node. So I tried to make it do a bunch of things, just to test them out.The necessary features are
This is probably the most confusing part about this program. You can run it on the Mac in localhost mode, or you can run the node.js program on a separate server, as long as there is a direct ip path back to the computer where Max is running. Running a separate server makes more sense if you are using the chat or a remote web control aspect of this. I have run the node program on a Ubuntu server on my local network without making any changes other than to the IP addresses as explained next.
You need to make 2 changes to go from localhost mode, to separate server mode:
In the client program, max.html – near the top, change the ip address from localhost to the specific ip like this:
// note: if you want to run this program on something other than localhost, then put in the ip
// address of the server here, instead of local host...

//     var socket = io.connect('http://localhost:8124');
//
       var socket = io.connect(192.168.1.10:8124');
In the server program, max-train1.js – change the destination address for UDP to the address of the computer where max is running:
var dSendAddress = '127.0.0.1';	// send response messages to max at this address
// do this if max is running somewhere other than the same computer as the node server
// var dSendAddress = '192.168.1.104';	// send response messages to max at this address
Also in the Max patch max-train3.maxpat you will need to change the [udpsend] object to give it the host address of the node server.

train-drawing4.maxpat

Data recorder:

To be able to save and replay data I included a data recorder in the patch. Its a revision of the data recorder from CNMAT by Michael Z. This version
The actual code for the patch is horrendous. Its filled with debugging objects and is a maze of patch cords lacking explanation. But it works…
By Matt Gaidica at Bytes of Pi
http://bytesofpi.com/post/21137013778/simple-twitter-user-authentication-with-node-js
Stack:
Wrapper programs and examples for running Oauth in node.js
https://github.com/ciaranj/node-oauth
Also check out these general purpose connection/authorization packages